en
en es
es ru
ru fr
fr de
de it
it ja
ja ar
ar pt
pt ko
ko tr
tr nl
nl fi
fiHow to Make Your Own Shipping Box?
Sep. 11, 2025
Views:461
While pre-made shipping boxes line store shelves and online marketplaces, they rarely fit our product perfectly. A too-big box wastes space and padding materials; a too-small one risks damaging the item inside. Irregularly shaped items? They might not fit at all. This is where the art of making your own shipping box shines. It’s not just a budget-friendly hack or a creative DIY project—it’s a solution tailored to your unique needs. Imagine a box that hugs your item snugly, uses materials you already have, and even carries a personal touch. Whether you’re looking to cut costs, reduce waste, or ensure your package arrives safely, crafting a custom shipping box puts you in control.
In this guide, we’ll walk through why making your own box matters, how to do it step by step, and how to add those extra touches that make your package stand out. Let’s turn cardboard, tape, and a little creativity into a shipping solution that works for you.
Creating your own shipping box is more than just a DIY project—it offers a range of practical and strategic benefits that make it a worthwhile endeavor for individuals and businesses alike.
Purchasing pre-made shipping boxes, especially in non-standard sizes, can be expensive. By making your own, you can utilize recycled materials (such as old cardboard from packaging, cereal boxes, or appliance boxes) to significantly reduce packaging costs, which is particularly valuable for small businesses or frequent shippers.
Many items being shipped have irregular shapes or dimensions—think handmade crafts, delicate electronics, or odd-sized gifts. A homemade box can be tailored exactly to the item’s size, ensuring a snug fit that minimizes movement during transit and reduces the need for excessive padding.
Reusing cardboard to make shipping boxes reduces waste and lowers your environmental footprint. It diverts materials from landfills and decreases the demand for new cardboard production, which involves resource-intensive processes like logging and manufacturing.
You aren’t limited by the sizes available in stores. If you need a box urgently, you can create one on the spot using materials you already have, avoiding trips to a supply store or waiting for deliveries of pre-made boxes.


● Cardboard sheets (thickness depends on the item’s weight—heavier items need sturdier cardboard)
● Ruler or measuring tape
● Pencil or marker
● Box cutter or scissors (adult supervision recommended for sharp tools)
● Packaging tape (strong, clear tape works best)
Optional: Corner protectors, bubble wrap, or foam padding for fragile items
First, determine the dimensions of the item you’re shipping. Measure its length, width, and height. Add 1–2 inches to each dimension to account for padding (this extra space ensures you can wrap the item in bubble wrap or tissue paper without the box being too tight).
The cardboard sheet should be large enough to form the base, sides, top, and flaps of the box. For a basic rectangular box, the length of the cardboard will be (2 × height) + length of the item (plus padding). The width will be (2 × height) + width of the item (plus padding).
Using a ruler and pencil, mark the dimensions on the cardboard. Draw a rectangle for the base of the box, then mark lines for the sides (height) on both ends of the base. These lines will create flaps that fold up to form the sides.
Carefully cut along the marked lines with a box cutter or scissors to get the main cardboard piece.
Along the lines marked for the height, fold the cardboard upwards to form the four sides of the box. Ensure the folds are crisp—you can run a ruler along the fold line to make it sharper.
Use packaging tape to secure the vertical corners of the box. Apply tape along the inside and outside of each corner to reinforce them, ensuring the sides stay upright.
From the top edges of the two longer sides, cut flaps that are equal to the width of the box (plus a small overlap, about ½ inch). These flaps will fold down to close the top.
Once the item is placed inside (with padding, if needed), fold the top flaps down. Overlap them slightly and seal with tape along the seam. For added security, tape along the edges of the flaps as well.
For heavier items, reinforce the base by adding an extra layer of cardboard or taping a strip of cardboard along the bottom edges. You can also reinforce the top flaps with additional tape to prevent them from opening during shipping.


For lightweight items (like clothing or documents), thin cardboard (e.g., from cereal boxes) may suffice. For heavier items (like books or small appliances), use thicker cardboard from appliance boxes or moving boxes, as it provides better structural support.
Measure twice, cut once! Accurate measurements prevent wasted materials and ensure the box fits the item properly. Using a straightedge (like a ruler or a long, flat piece of wood) while cutting helps keep lines straight.
Apply tape in an “H” pattern on the top and bottom of the box for maximum strength. This means taping along the center seam and then across the ends, forming an “H.” This method distributes pressure evenly and prevents the box from opening.
If you frequently ship items of the same size, create a template from cardboard. Trace around the template each time you need a new box to skip the measuring step.
Before shipping, gently shake the box to ensure the item doesn’t move excessively. If it does, add more padding or adjust the box size. You can also place a small weight on top of the box to test its ability to withstand pressure (important if boxes will be stacked during shipping).


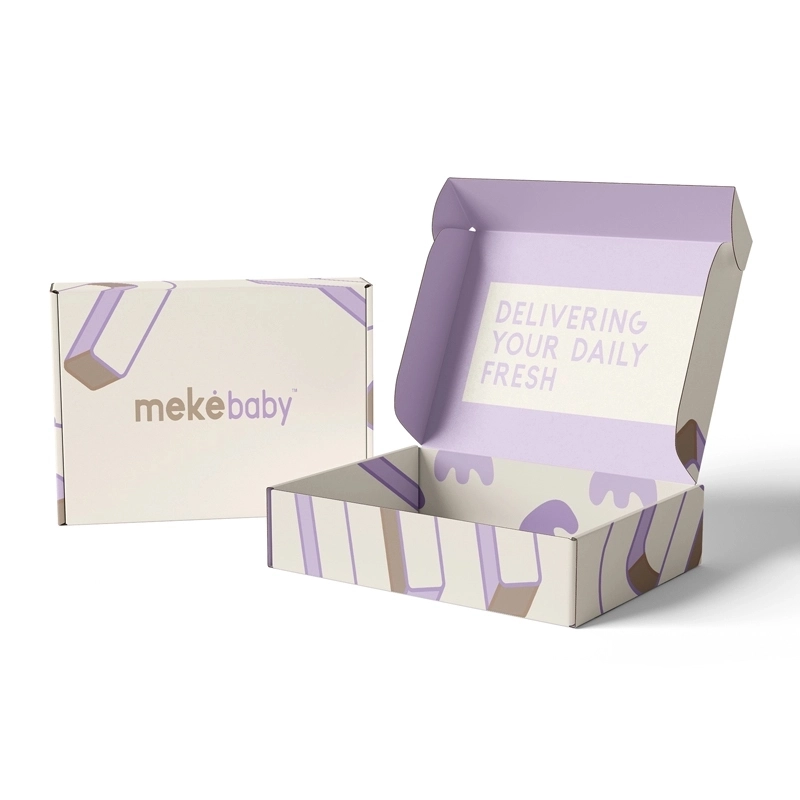
Adding a personal touch to your shipping box can make it stand out, reinforce your brand (for businesses), or add a special touch for gifts.
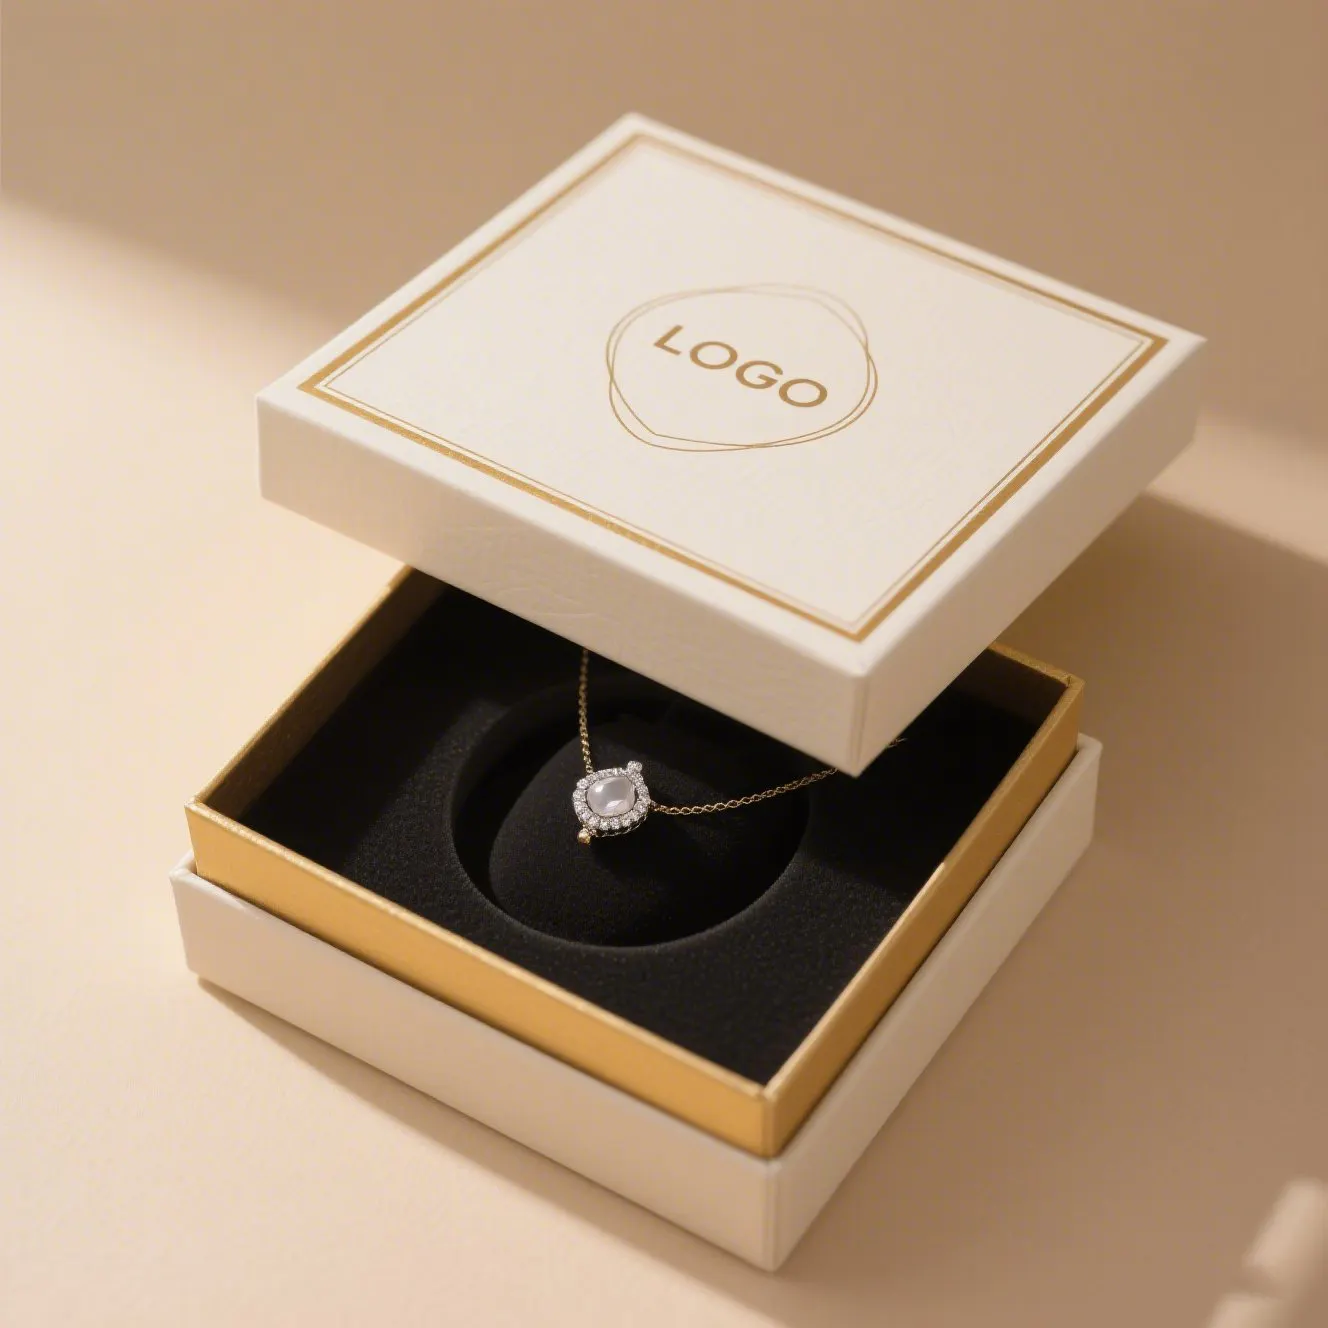
Print your logo, business name, or contact information on stickers and apply them to the box. You can also use colored tape that matches your brand’s colors to add a cohesive look.
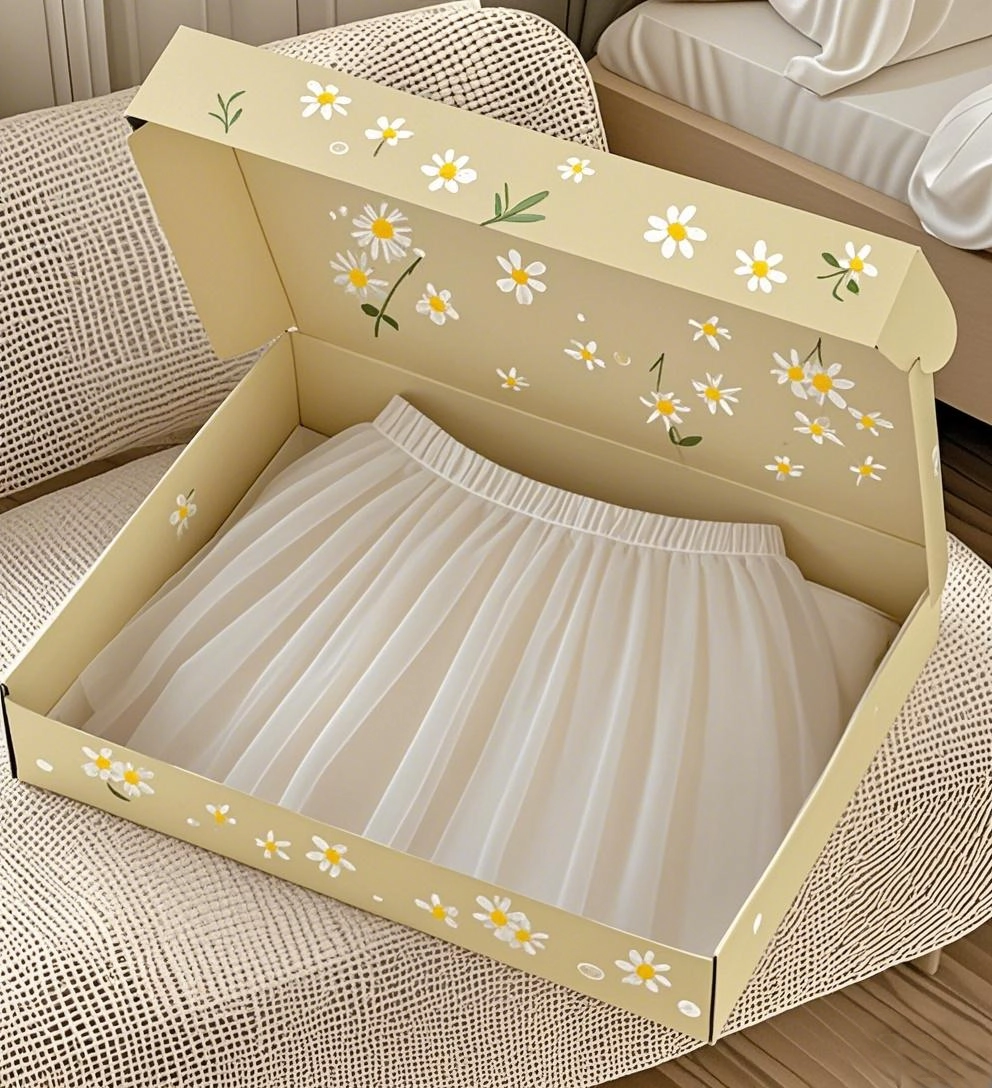
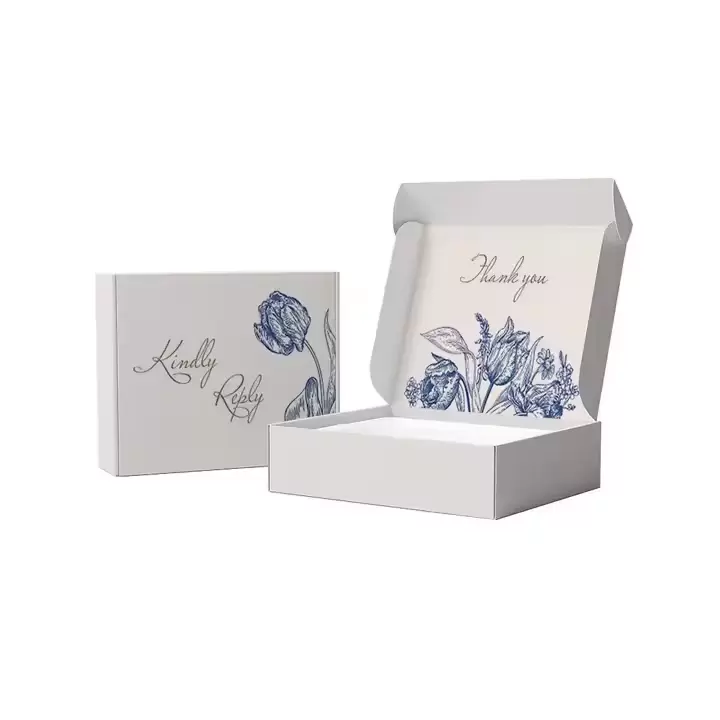
Use wrapping paper to cover the outside of the box, or draw patterns (like stripes, polka dots, or flowers) with markers. Add a handwritten note or a sticker with a message (e.g., “Fragile—Handle with Care” or “Happy Birthday!”) to make the recipient feel special.
Use plant-based ink to decorate the box, or attach a small sprig of dried flowers or a recycled paper tag. This aligns with the eco-friendly aspect of making your own box.
While personalizing, don’t forget to clearly label the box with the recipient’s address, your return address, and any shipping instructions (e.g., “This Side Up” or “Fragile”). Use a permanent marker or printed labels to ensure readability.
While most cardboard can work for lightweight items, it’s best to avoid very thin or flimsy cardboard (like from tissue boxes) for heavy or fragile items. Corrugated cardboard (with a wavy layer between two flat layers) is ideal because it’s strong and provides better cushioning.
Yes, it’s legal, but there are a few considerations. Remove any old shipping labels or barcodes to avoid confusion during delivery. Also, ensure the cardboard is clean and free of any hazardous materials (e.g., oil stains or chemical residues) that could damage the item being shipped.
For irregular shapes, first wrap the item in bubble wrap to create a more uniform shape. Then, measure the wrapped item and create a box around that size. You can also cut the cardboard into smaller pieces and tape them together to form a custom fit, ensuring all parts of the item are covered and supported.
While cardboard itself isn’t waterproof, you can add a waterproof layer. Line the inside of the box with a plastic bag or wrap the item in a waterproof cover (like a trash bag) before placing it inside. For the outside, you can apply a layer of packing tape to seal the seams and repel light moisture, though this won’t protect against heavy rain or immersion.
The amount of padding depends on the item’s fragility. Fragile items (like glass or electronics) need at least 2 inches of padding on all sides. Sturdy items (like books or clothing) can get by with ½–1 inch of padding to prevent shifting. Materials like bubble wrap, foam peanuts, crumpled newspaper, or even old towels work well as padding.


 Wechat
 Tel
Tel