en
en es
es ru
ru fr
fr de
de it
it ja
ja ar
ar pt
pt ko
ko tr
tr nl
nl fi
fiHow to Make Custom Packaging?
Sep. 11, 2025
Views:478
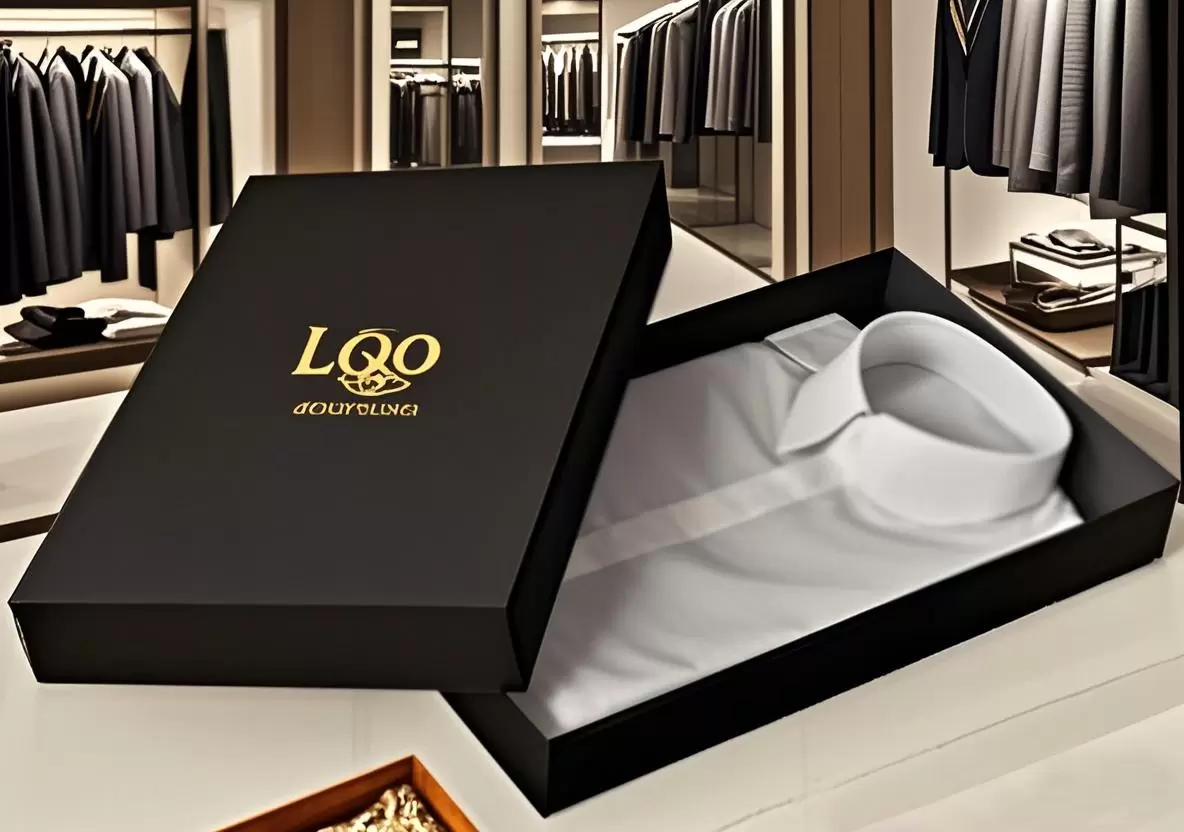
In a world where first impressions matter—whether for a small business shipping products to customers or an individual sending a thoughtful gift—packaging is more than just a container. It’s the first physical touchpoint between the sender and the recipient, a silent messenger that conveys care, professionalism, or personality. Yet, generic, one-size-fits-all packaging often falls short: it may be too bulky, too flimsy, or simply fail to reflect the uniqueness of what’s inside. This is where custom packaging steps in.
Custom packaging isn’t just about making a box that fits perfectly (though that’s a key perk). It’s about crafting a solution that aligns with your specific needs—whether that’s protecting a fragile item, reducing shipping costs, reinforcing a brand identity, or adding a personal flair that turns a simple package into something memorable. Whether you’re a small business owner looking to elevate your brand, a crafter shipping handmade goods, or someone sending a special gift, learning to make custom packaging gives you the power to create something that’s as functional as it is meaningful.
In this guide, we’ll unpack why custom packaging matters, walk through step-by-step instructions to create your own, share tips for doing it efficiently, explore ways to personalize your packaging, and answer common questions to help you get started. Let’s dive in and turn ordinary packaging into something uniquely yours.

Custom packaging is far more than a practical necessity—it’s a strategic tool that brings a host of benefits, whether you’re shipping items for business or personal reasons.
Every item has its own shape, size, and fragility, and generic packaging rarely accounts for these specifics. A custom package is tailored to fit the item precisely, minimizing movement during transit. For delicate items like handmade jewelry, fragile ceramics, or irregularly shaped electronics, this means less risk of damage. You can add extra layers of reinforcement exactly where they’re needed—like thicker cardboard around a glass jar’s base or padded inserts for a necklace—ensuring the item arrives in the same condition it was sent.
While it might seem counterintuitive, making custom packaging can save money over time. Generic boxes often require excessive padding (like bubble wrap or foam peanuts) to fill empty space, adding to material costs. Custom packaging, by contrast, fits the item snugly, reducing the need for extra padding. Additionally, using recycled materials—such as old cardboard boxes, leftover craft paper, or even repurposed fabric—cuts down on the need to buy new packaging supplies. For businesses, this translates to lower shipping and material costs, which can add up significantly over multiple shipments.
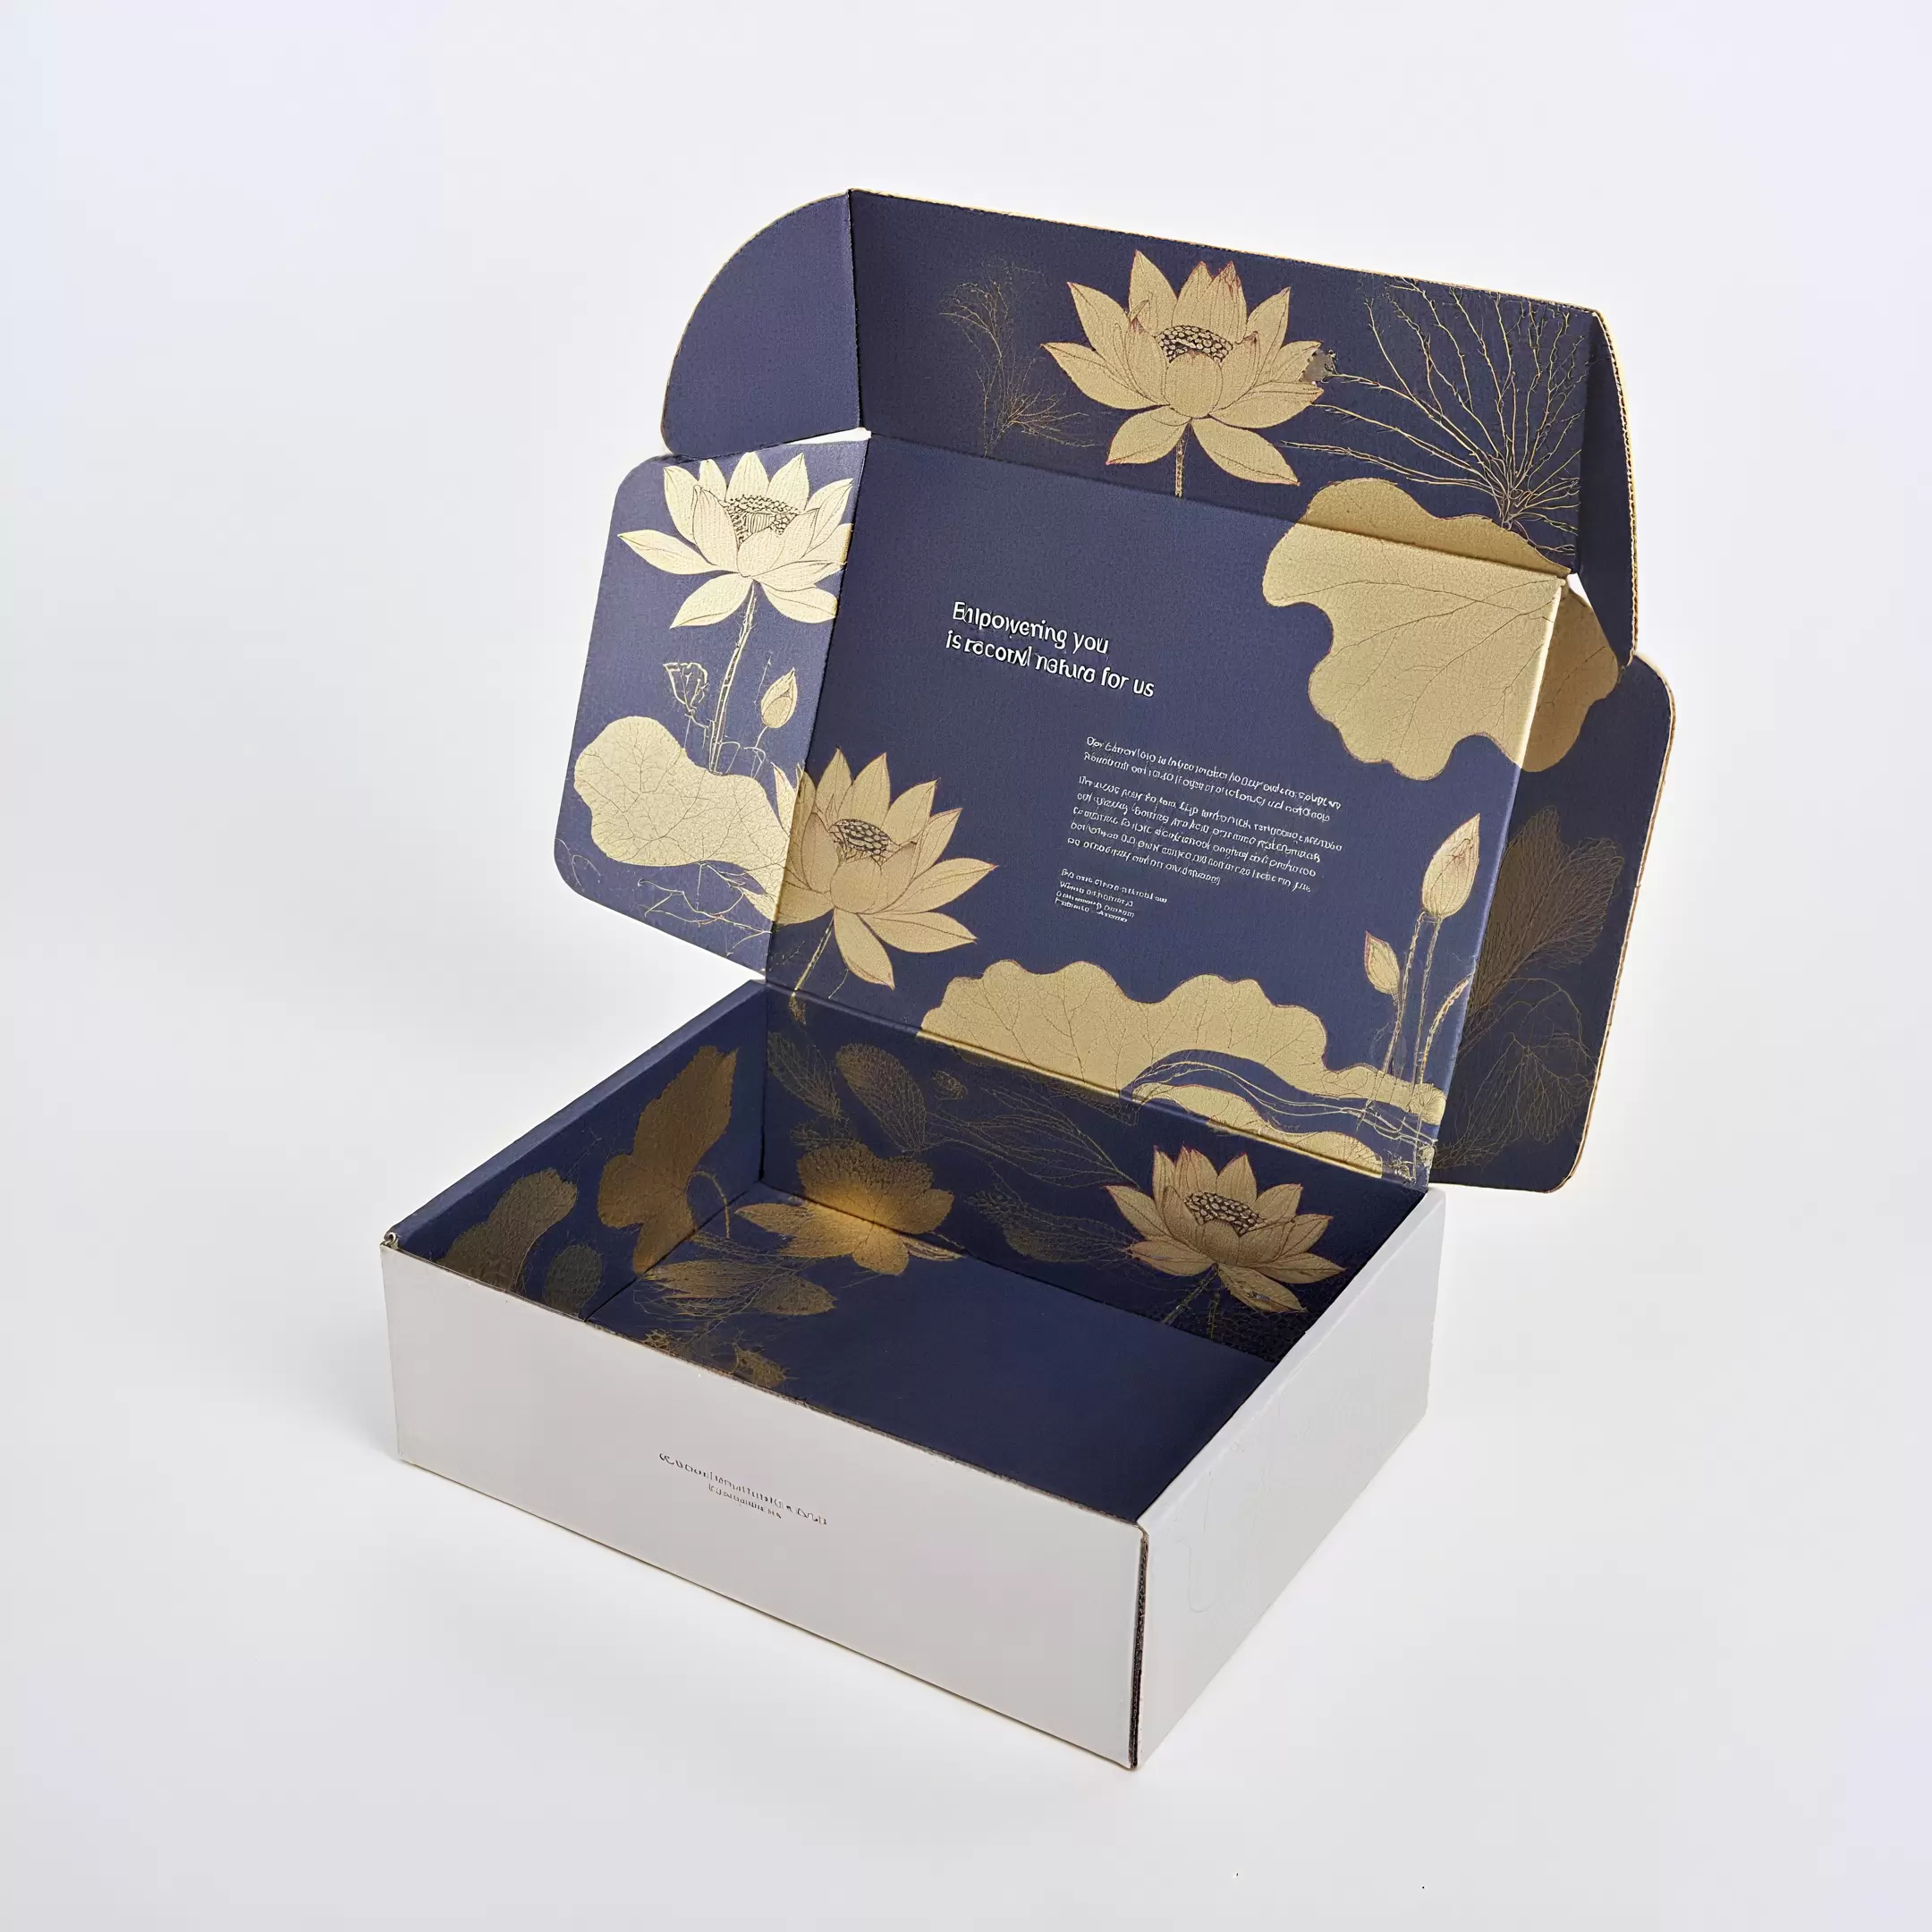
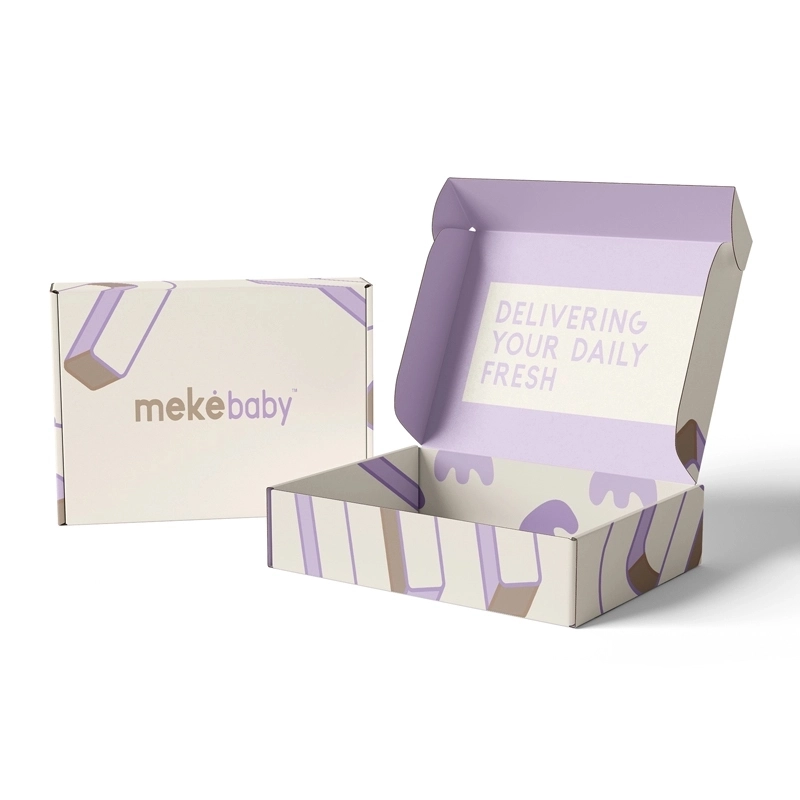
For small businesses, custom packaging is a powerful branding tool. A package that features your logo, brand colors, or a handwritten thank-you note creates a cohesive and memorable experience for customers. It turns a simple delivery into a moment of connection—making customers feel valued and more likely to remember your brand. Unlike generic packaging that blends in, custom packaging helps your shipments stand out, increasing the chances of positive reviews, social media shares, or repeat business.
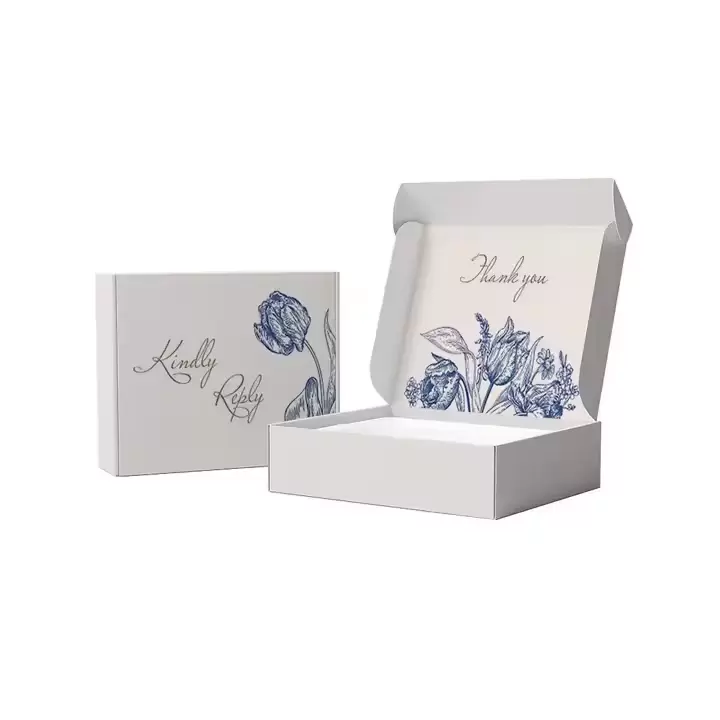
In an era where consumers are increasingly mindful of environmental impact, custom packaging offers eco-friendly advantages. By reusing materials or opting for sustainable options (such as recycled cardboard, biodegradable tape, or reusable fabric wraps), you can reduce waste. Custom sizing also means less material is used overall—no more oversized boxes that require extra resources to produce and ship. This not only lowers your environmental footprint but can also resonate with eco-conscious customers or recipients.
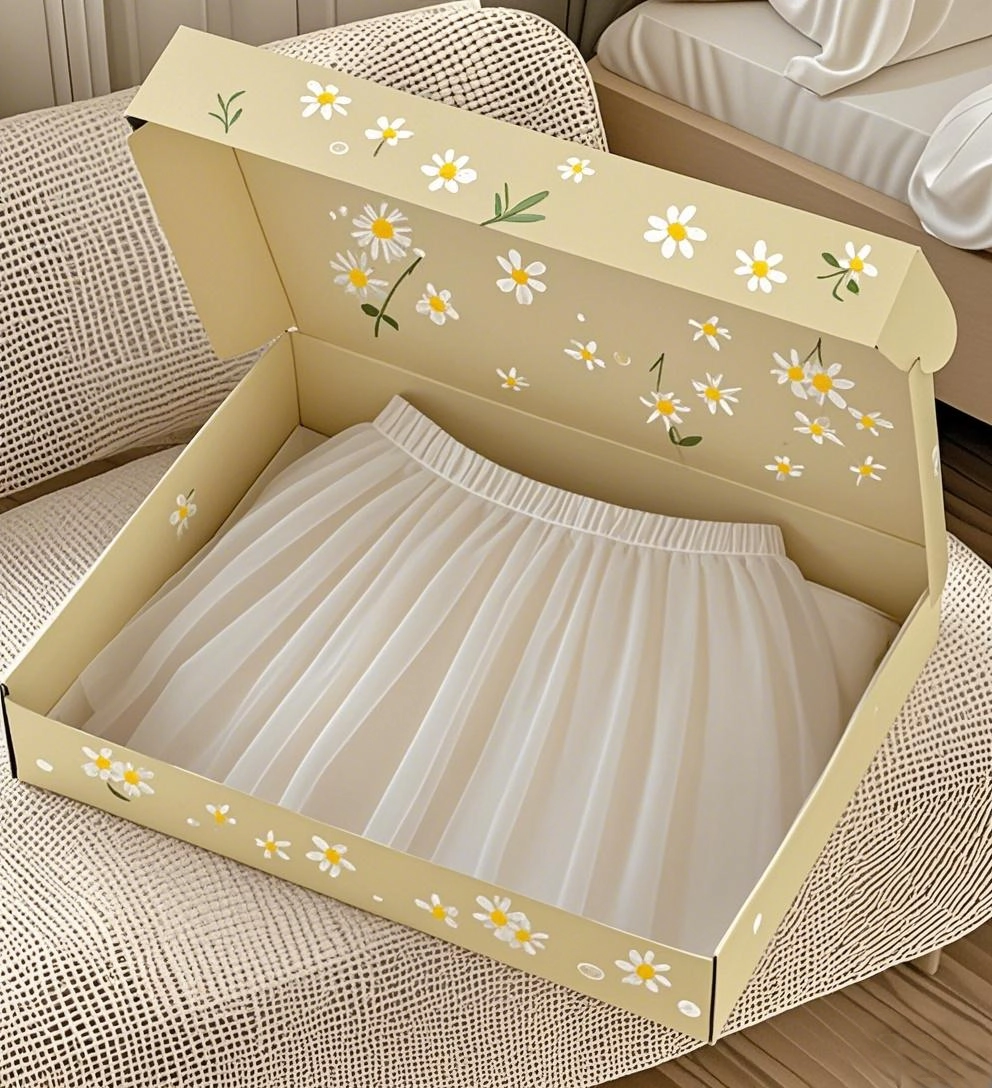
Personal shipments, too, benefit from custom packaging’s flexibility. Whether you’re sending a birthday gift, a care package to a friend, or family heirlooms, custom packaging allows you to tailor the presentation to the occasion. A box wrapped in festive paper for a holiday gift, or a hand-decorated package for a child, adds a personal touch that generic packaging can’t match. It shows the recipient that you put thought and care into every detail, making the act of receiving the package feel special.

Creating custom packaging doesn’t require advanced skills or expensive tools—just a bit of planning, basic materials, and attention to detail. Follow these steps to craft packaging that fits your item perfectly.
Base Material: Cardboard (corrugated for sturdiness, thin for lightweight items), craft paper, or even fabric (for soft, reusable packaging).
Measuring Tools: A Ruler, measuring tape, or a flexible tape measure.
Marking Tools: Pencil, marker, or tailor’s chalk (for fabric).
Cutting Tools: Scissors, a box cutter (with a straight edge for precision), or fabric scissors (if using fabric).
Adhesives: Packaging tape (clear or colored), craft glue (for paper/fabric), or double-sided tape (for a clean finish).
Padding Materials: Bubble wrap, foam sheets, crumpled recycled paper, or fabric scraps (for extra protection).
Optional Extras: Stickers, stamps, ribbon, or decorative paper (for personalization).
Start by examining the item you’re packaging. Note its dimensions (length, width, and height), weight, and fragility. Ask yourself: Do I need extra padding for fragile parts? Will the package be stacked during shipping, requiring a sturdy base? Is there a specific aesthetic I want (e.g., minimalist, colorful)? Answering these questions will guide the type of material and design you choose. For example, a fragile glass mug will need sturdier cardboard and more padding than a soft t-shirt.
Using your item’s measurements, calculate the size of your packaging. Add 1–2 inches to each dimension (length, width, height) to leave space for padding—this ensures the item has room to breathe without shifting too much. If you’re making a box, sketch a rough template on paper first: mark the base, sides, and flaps, ensuring the folds will align properly. For non-box packaging (like a fabric wrap or paper envelope), measure the item’s longest and widest points to determine the minimum size needed to fully cover it.
Lay your base material (cardboard, paper, or fabric) flat. Using your measurements, mark the dimensions with a pencil or marker. For a cardboard box, cut out a single sheet that includes the base and side flaps—use a straightedge to keep cuts straight, and press firmly with a box cutter (or scissors for thinner materials) to avoid jagged edges. For fabric or paper, cut a piece that’s large enough to wrap around the item with an overlap for securing. If using multiple pieces (e.g., reinforcing the bottom of a box), cut them to size now.
If making a box: Fold the cardboard along the marked lines to form the base and sides. Crease the folds firmly—run a ruler along the fold line to make them crisp, which helps the box hold its shape. Secure the corners with packaging tape: apply tape along the inside and outside of each corner for reinforcement. For extra strength, tape the bottom seam in an “X” pattern (crisscrossing tape from corner to corner). If the item is heavy, add a second layer of cardboard to the base before taping.
If making a wrap or envelope: Lay the item in the center of the fabric or paper. Fold the material over the top and bottom of the item, then tuck in the sides. Secure with tape, glue, or ribbon—for fabric, you might use fabric glue or sew a simple seam to keep it closed.
Place padding materials (bubble wrap, foam, etc.) inside the packaging. For fragile items, line the bottom and sides with padding first, then wrap the item itself in bubble wrap before placing it inside. Ensure there’s padding on all sides—gently shake the packaging to test for movement; if the item shifts, add more padding until it feels secure. For soft items (like clothing), crumpled paper or fabric scraps work well to fill empty space without adding bulk.
Close the packaging securely. For boxes, fold the top flaps down and seal with tape—use an “H” pattern (tape along the center seam and across the ends) for maximum strength. For wraps or envelopes, seal the edges with tape or glue, ensuring no gaps where the item could fall out. If shipping, reinforce any weak points (like seams or corners) with extra tape—this prevents the packaging from opening during transit.
Making custom packaging can be quick and stress-free with the right strategies. These tips will help you streamline the process and get professional-looking results.
Save recyclable materials like cardboard boxes (from online orders, grocery stores, or appliance deliveries), bubble wrap, and tissue paper. Store them in a designated bin or closet—this way, you’ll always have supplies on hand, and you won’t need to buy new materials for every project. Sort cardboard by thickness (thin for lightweight items, corrugated for heavy ones) to quickly find what you need.
If you often ship items of the same size (e.g., small jewelry boxes, standard t-shirts), create reusable templates. Trace the dimensions onto a piece of sturdy cardboard or plastic, then cut around the template each time you need new packaging. This skips the measuring step and ensures consistency—great for businesses that want uniform packaging.
“Measure twice, cut once” is key to efficiency. A misaligned cut or incorrect measurement can waste materials and time. Use a ruler or measuring tape that’s easy to read, and mark lines lightly with a pencil (so you can erase mistakes). For straight cuts, clamp a straightedge (like a wooden ruler) to the material to guide your scissors or box cutter—this avoids wobbly edges that are hard to fold or seal.
If you need multiple packages (e.g., for a bulk order or holiday gifts), make them all at once. Cut all the base materials first, then fold and assemble them in a group. This reduces the time spent switching between tools (e.g., putting down the scissors to grab tape) and helps you maintain a rhythm. You can also pre-cut padding materials in common sizes to speed up the final assembly step.
Adding too much tape or extra layers of cardboard can make packaging bulky and hard to handle—plus, it wastes materials. Focus reinforcement on high-stress areas: the bottom of the box (where weight sits), the corners (which can bend during shipping), and the top seam (which might pop open). A few well-placed strips of tape are often more effective than covering the entire package.

Personalization turns custom packaging from functional to memorable. Whether you’re branding for business or adding heart to a personal gift, these ideas will help you make your packaging stand out.
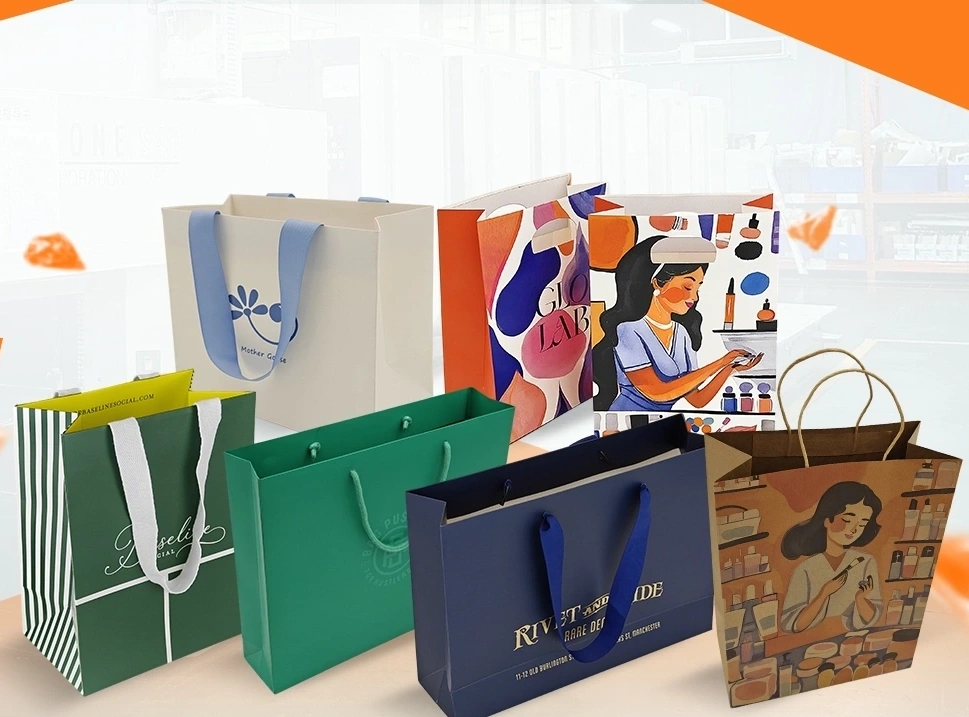
Logo and Brand Colors: Print your logo on stickers, stamps, or custom tape and apply it to the packaging—place it prominently (e.g., on the top of the box) for visibility. Use tape, paper, or ribbon in your brand’s signature colors to create a cohesive look. For example, a coffee shop might use brown tape and a logo sticker with their name to match their brand’s warm, earthy vibe.
Handwritten Notes or Inserts: Include a small card with a handwritten thank-you message (e.g., “Thanks for supporting our small business!”) or a discount code for future orders. This adds a human touch that builds customer loyalty.
Custom Tags or Labels: Attach a tag with the product name, a brief story (e.g., “This candle was hand-poured in our studio”), or care instructions. For eco-friendly brands, add a label noting that the packaging is recyclable or reusable.
Decorative Touches: Use washi tape, stickers, or stamps to add patterns—think polka dots, florals, or holiday motifs (e.g., snowflakes for winter gifts). Draw directly on the packaging with markers or colored pencils for a hand-drawn look, or glue on small embellishments like dried flowers, ribbon, or pom-poms.
Themed Packaging: Match the packaging to the occasion. For a birthday, wrap the box in colorful paper and add a “Happy Birthday” sticker; for a care package, use fabric with a cozy pattern (like plaid or stripes) and include a handwritten list of “little joys” inside.
Recipient-Specific Details: Add a personal touch that reflects the recipient’s interests—e.g., a sticker of their favorite animal or a quote from their favorite book written on the box. If you’re sending a gift to a child, draw a simple game (like a maze or tic-tac-toe) on the packaging to keep them entertained while unwrapping.
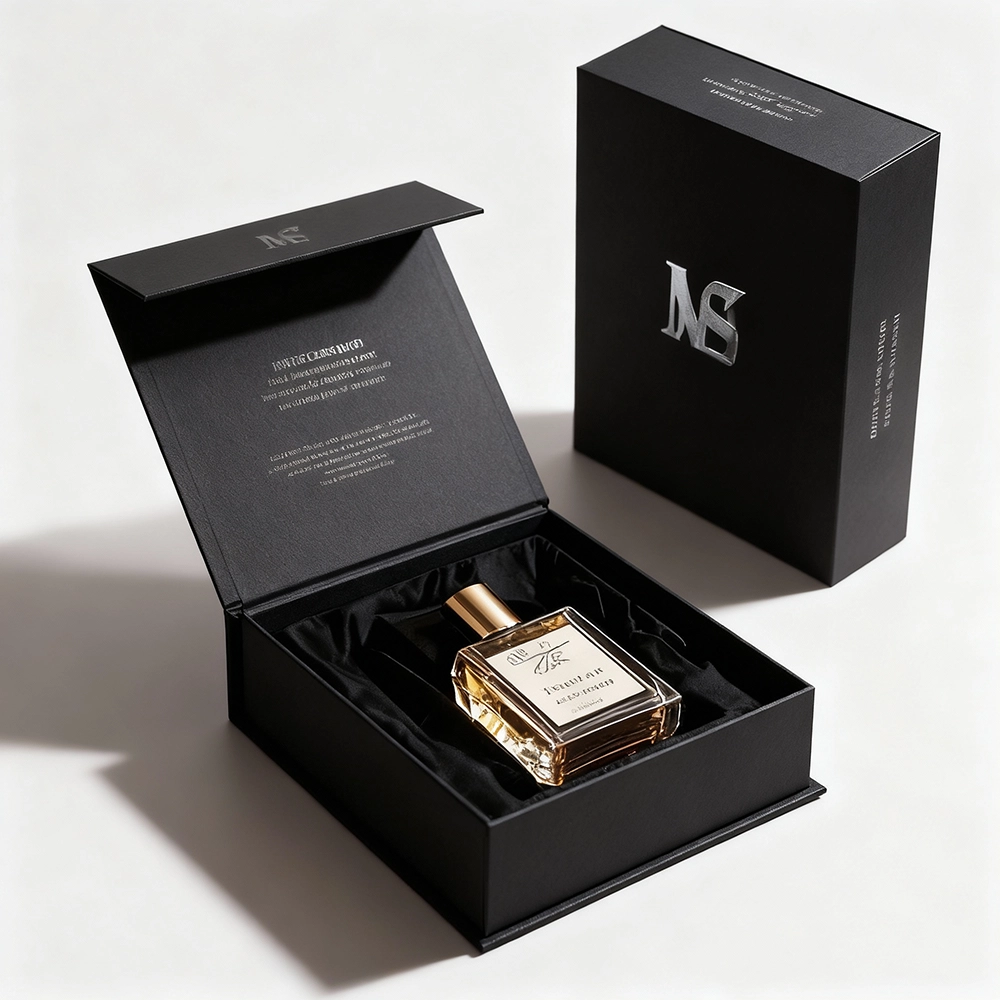
Subtle, Elegant Touches: For a minimalist look, use plain brown cardboard or kraft paper and add a single pop of color—like a red ribbon or a gold stamp. Write the recipient’s name in calligraphy on the top of the box, or use a wax seal with a simple design (e.g., a monogram) to close the package. These small details feel luxurious without being over-the-top.

A1: Absolutely! You don’t need fancy equipment—basic tools like scissors, a ruler, and tape are enough for most projects. If you’re using cardboard, a box cutter (with adult supervision) can help with straight cuts, but scissors work too for thinner materials. For personalization, household items like markers, stickers, or even old fabric scraps can add flair.
A2: Recycled or recyclable materials are ideal. Corrugated cardboard (from old boxes) is sturdy and widely recyclable; kraft paper (unbleached, recycled paper) is lightweight and easy to decorate. For soft items, use fabric scraps or reusable cloth bags—they can be repurposed by the recipient. Avoid plastic-based materials (like non-recyclable tape) and opt for paper tape or biodegradable glue instead.
A3: For small items (e.g., jewelry, tiny electronics), use thin cardboard or craft paper to make a mini box—cut the material to size, fold it into a cube, and secure with tape or glue. Add a layer of foam or tissue paper inside to prevent the item from moving. For large items (e.g., furniture parts, bulky gifts), use multiple pieces of cardboard—tape them together to form a base and sides, and reinforce the corners with extra tape. You can also wrap the item in a large piece of fabric or a moving blanket before placing it in the cardboard structure for added protection.
A4: Yes, as long as you reinforce it properly. Use corrugated cardboard (thicker is better for long distances) and add extra padding (like bubble wrap or foam) to protect against rough handling. Seal all seams with heavy-duty packaging tape, and reinforce the bottom and corners with additional tape. If the item is fragile, mark the package with “Fragile” or “Handle with Care” stickers—this alerts shipping carriers to be cautious.
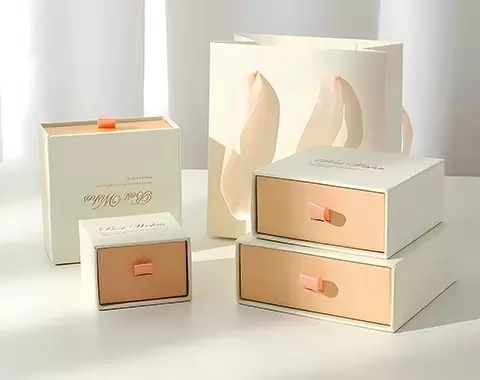
A5: Design packaging that the recipient can repurpose. For example, make a box with a lid that fits snugly (instead of taping it shut) so it can be used to store small items. Use fabric to make a drawstring bag—perfect for holding jewelry, cosmetics, or snacks. Add a note encouraging the recipient to reuse it (e.g., “This bag is for you to keep—fill it with your favorite things!”). Avoid using permanent adhesives (like strong glue) that make it hard to open and reuse; instead, use tape that can be removed easily or ribbon to tie the package closed.
 Wechat
 Tel
Tel