en
en es
es ru
ru fr
fr de
de it
it ja
ja ar
ar pt
pt ko
ko tr
tr nl
nl fi
fiHow to Make a Chocolate Box with Cardboard?
Jun. 12, 2025
Views:3
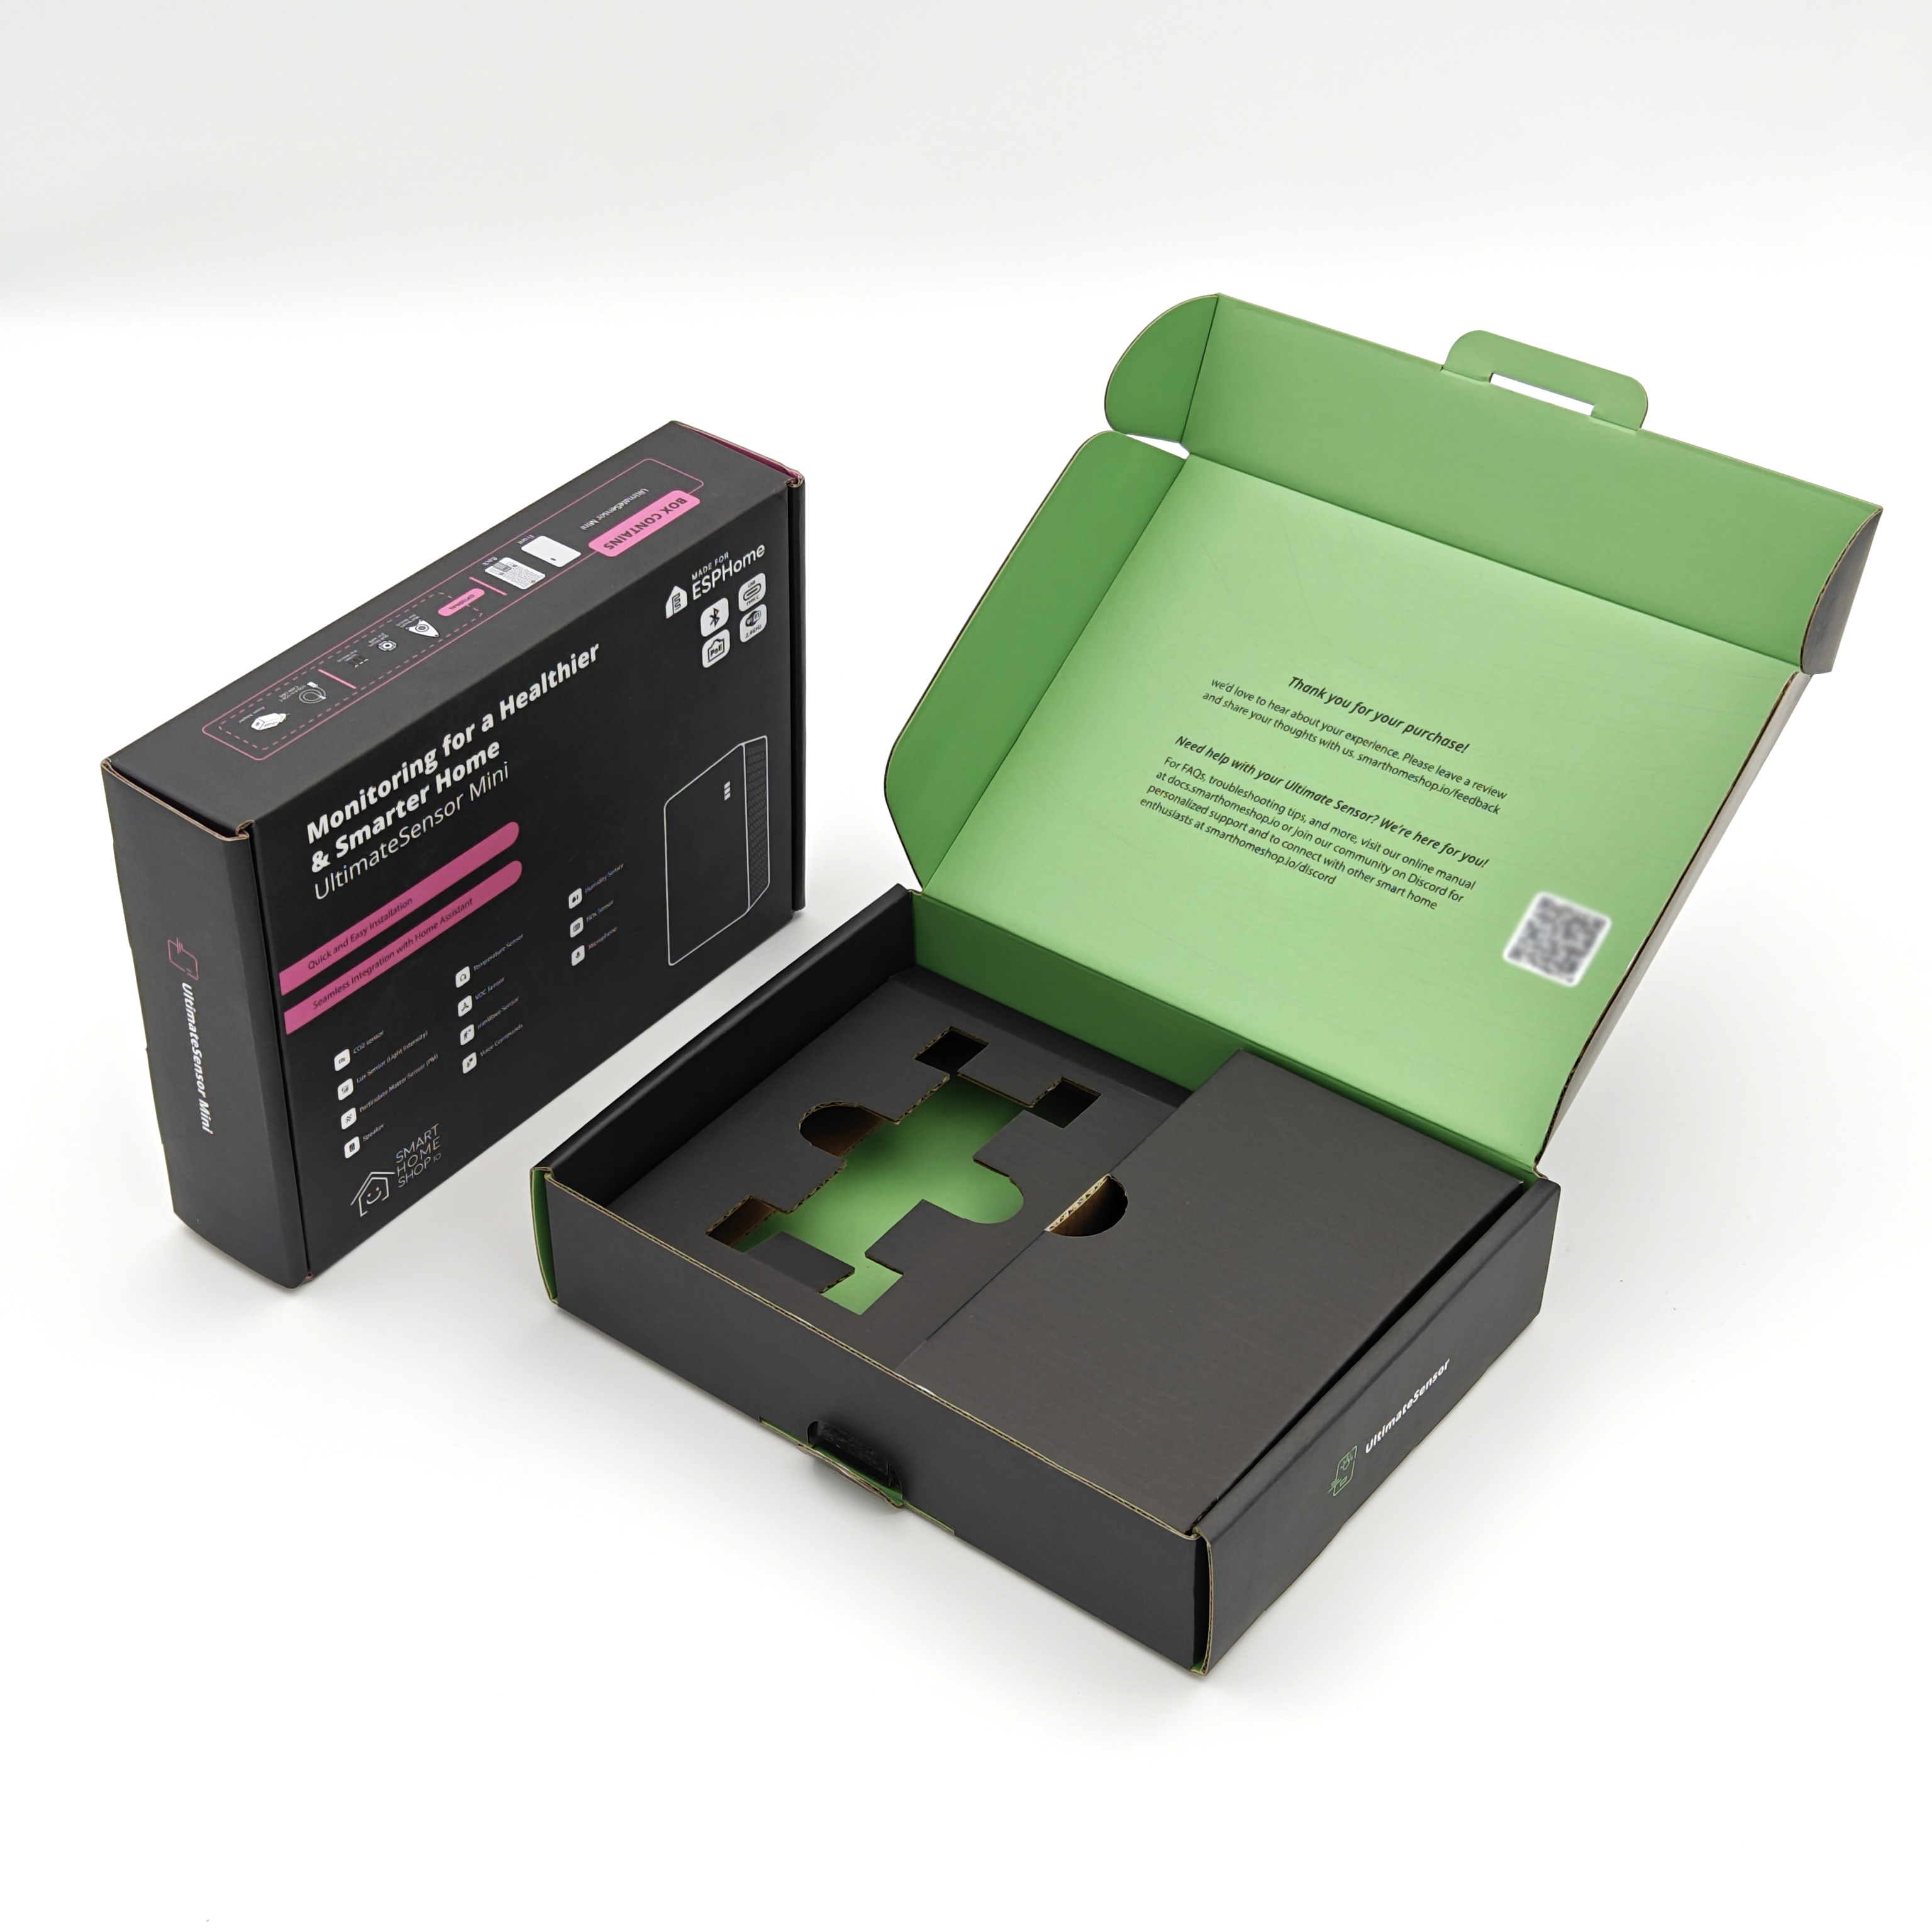
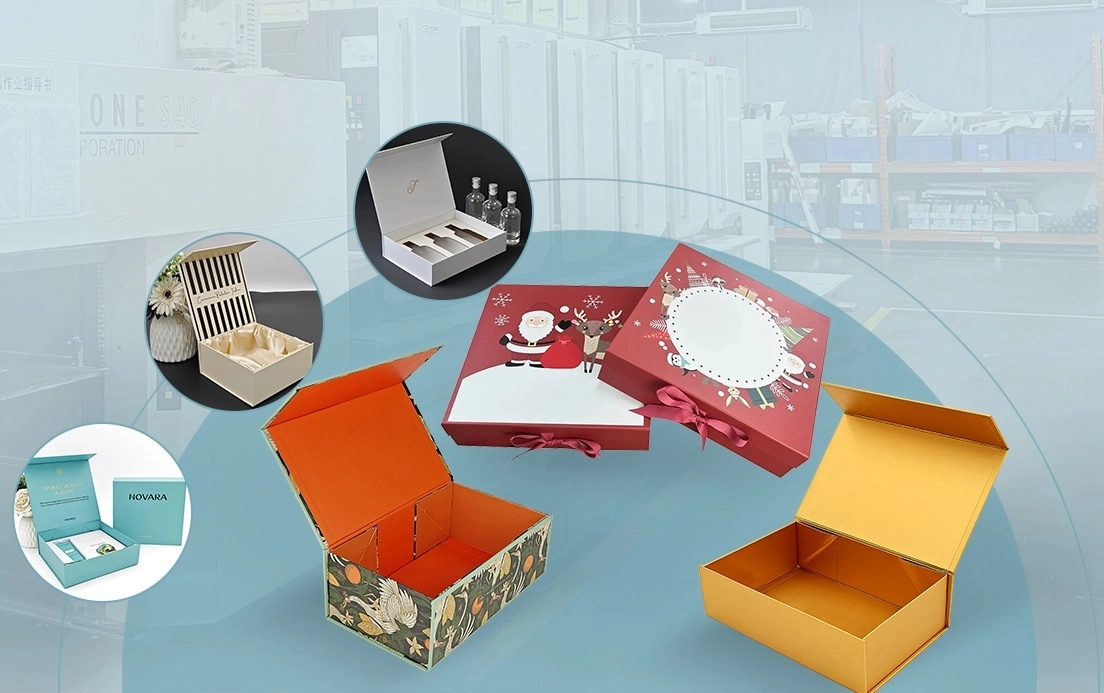
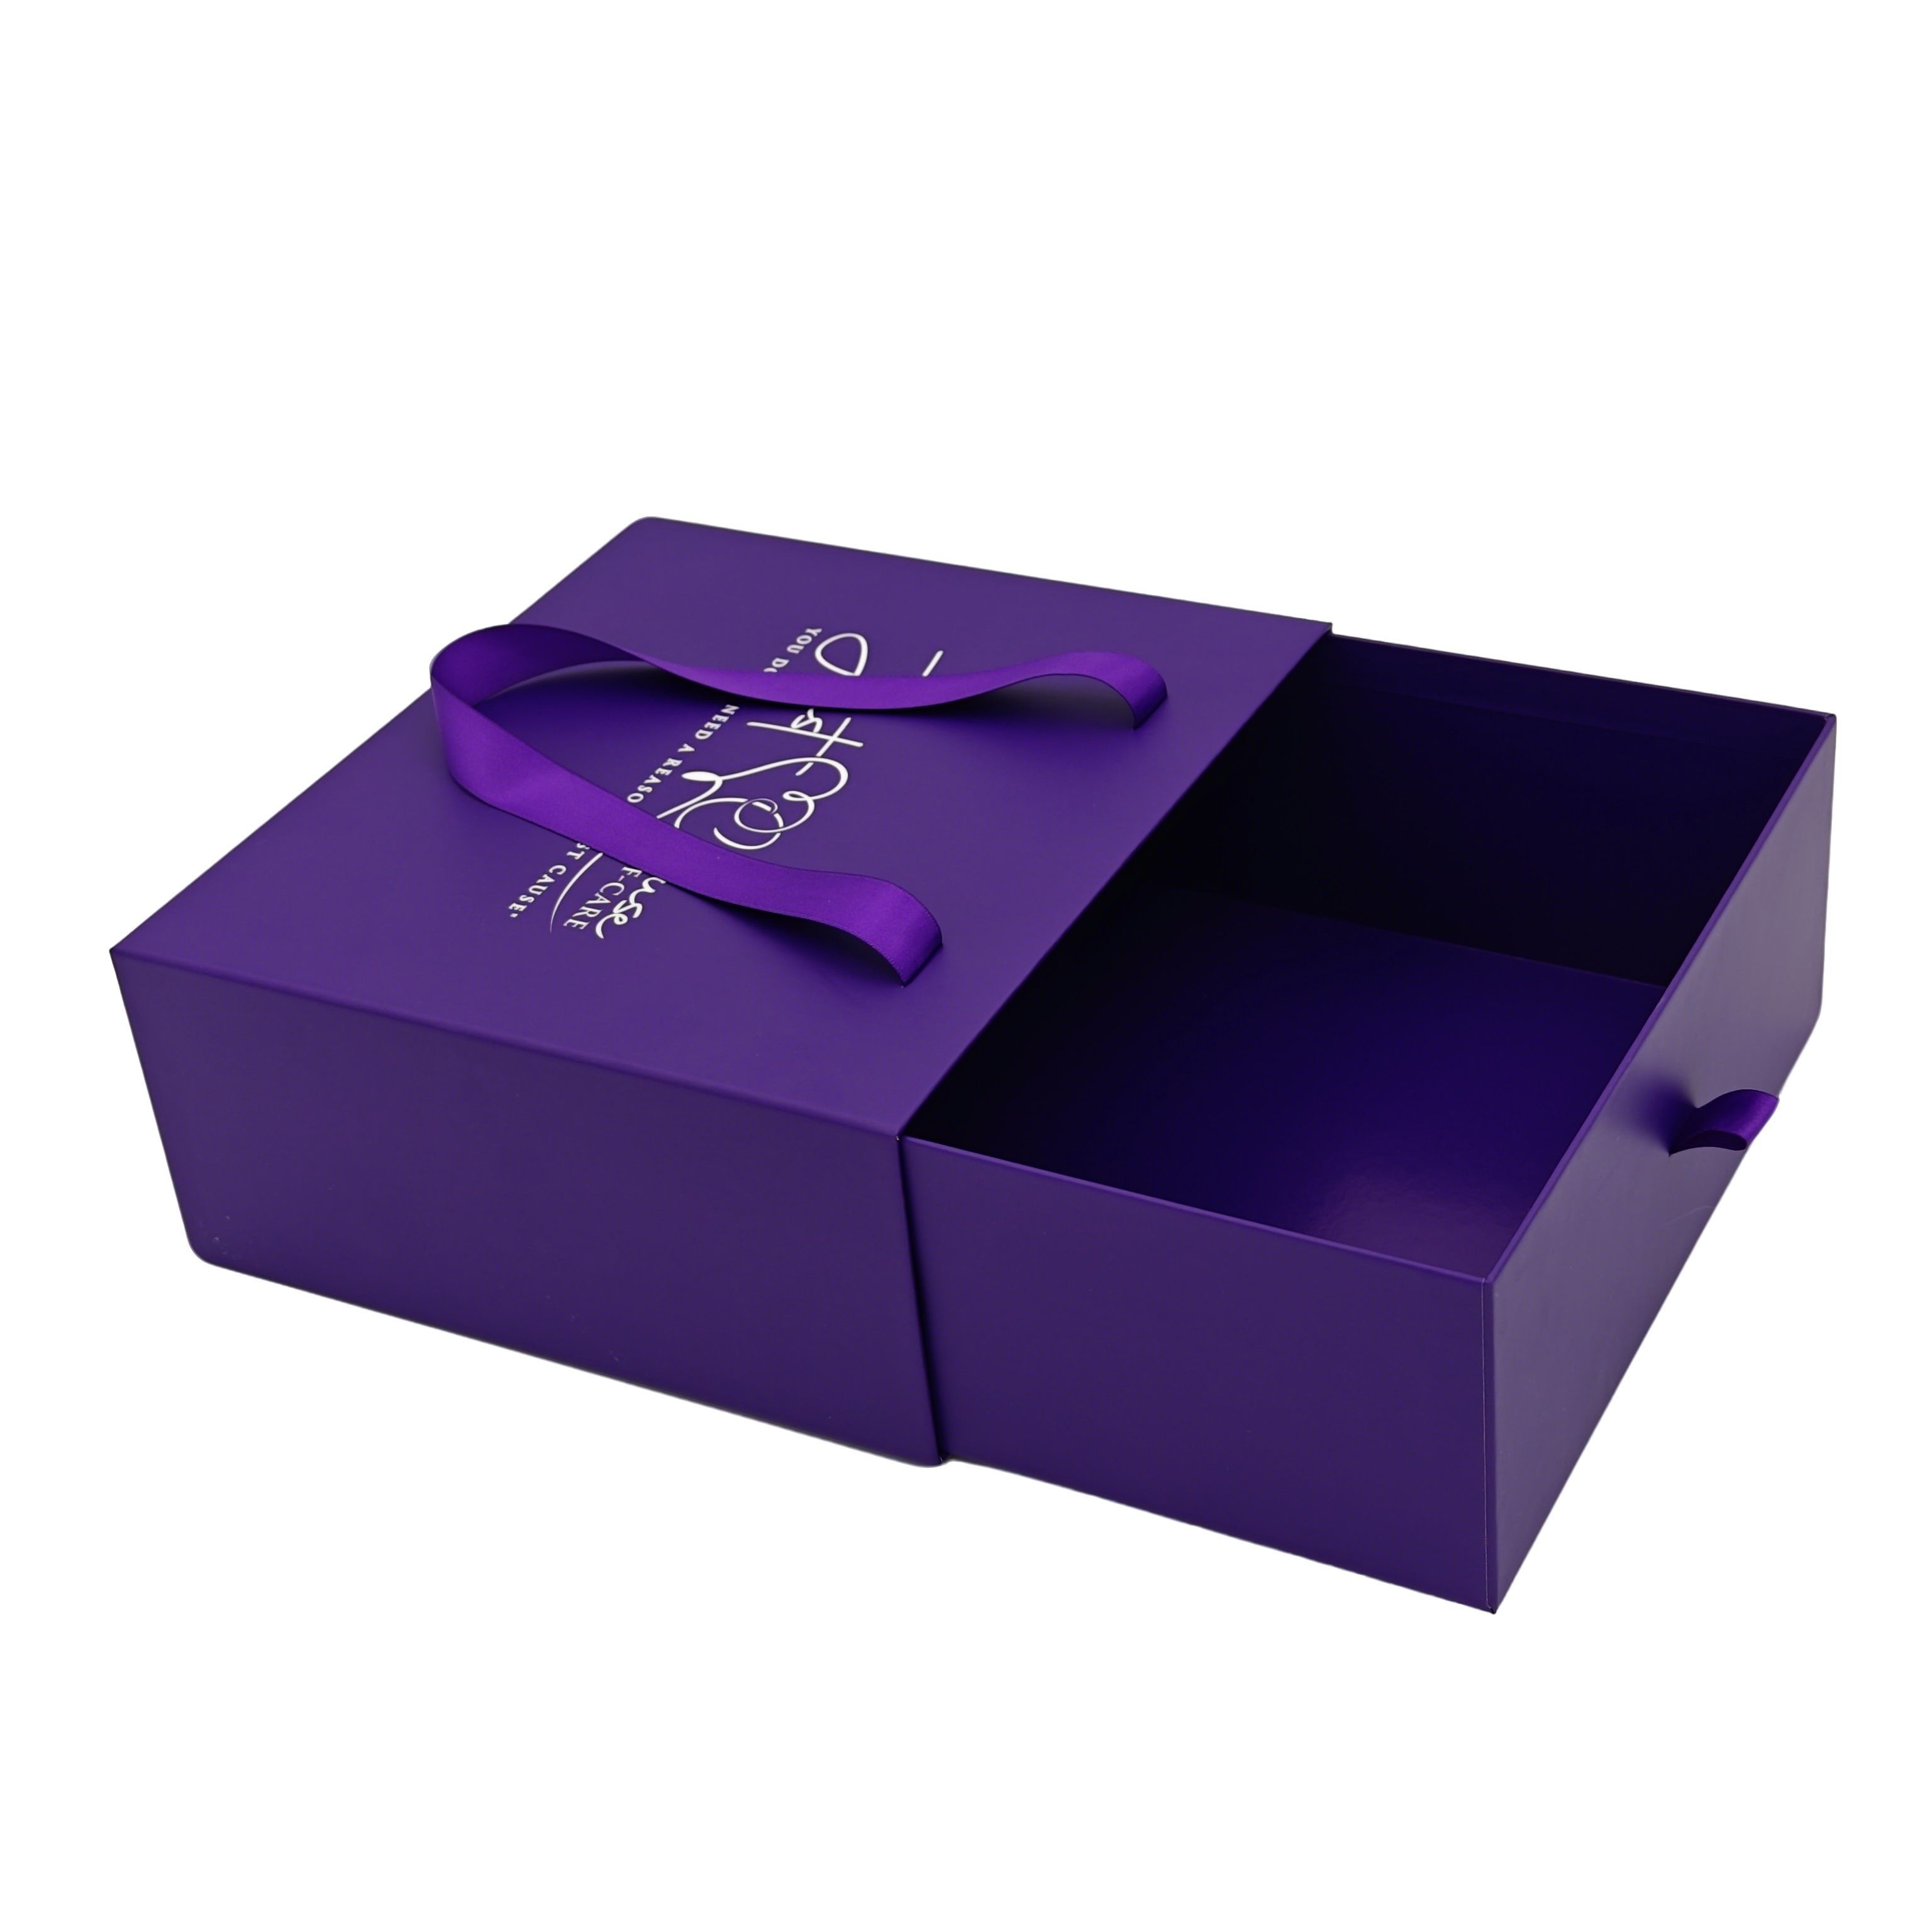
Making a chocolate box with cardboard is not only environmentally friendly and interesting, but also customizable according to your preferences. The following is a basic and beautiful drawer-style chocolate box making tutorial, with detailed steps and decoration suggestions, which can be easily mastered by novices:
Choose cardboard with moderate hardness (such as 150-200g/m² colored cardboard, waste gift box cardboard), or corrugated paper (to increase texture).
ruler, pencil, utility knife (or scissors), glue (solid glue/white glue), double-sided tape, compass (optional), decorative materials (ribbons, colored pens, stickers, sequins, etc.).
Reference size (taking 6-8 chocolates as an example):
12cm long × 8cm wide × 4cm high
Inner drawer: 11cm long × 7cm wide × 3.5cm high
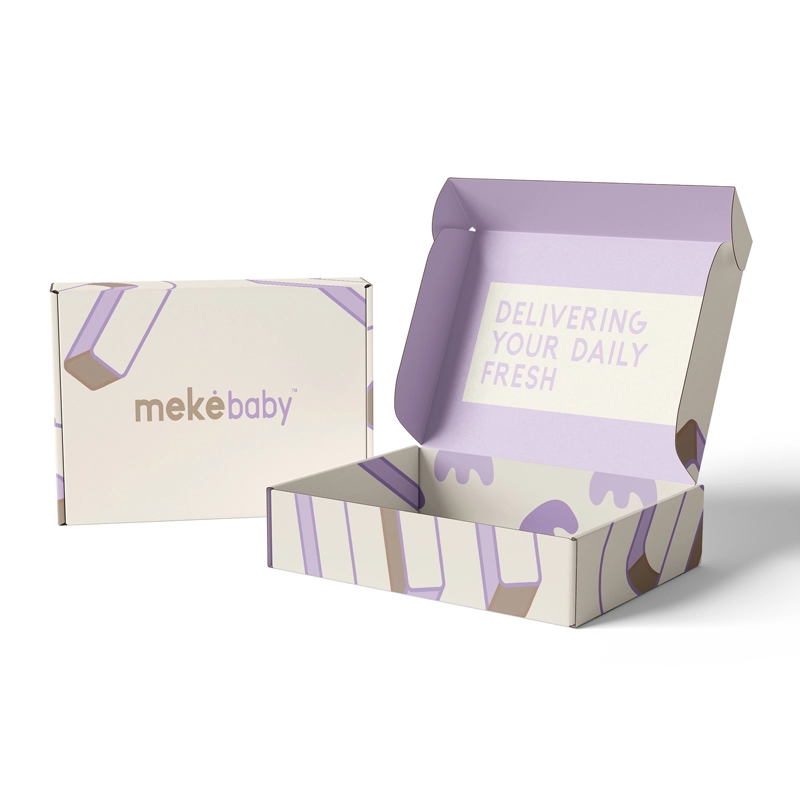
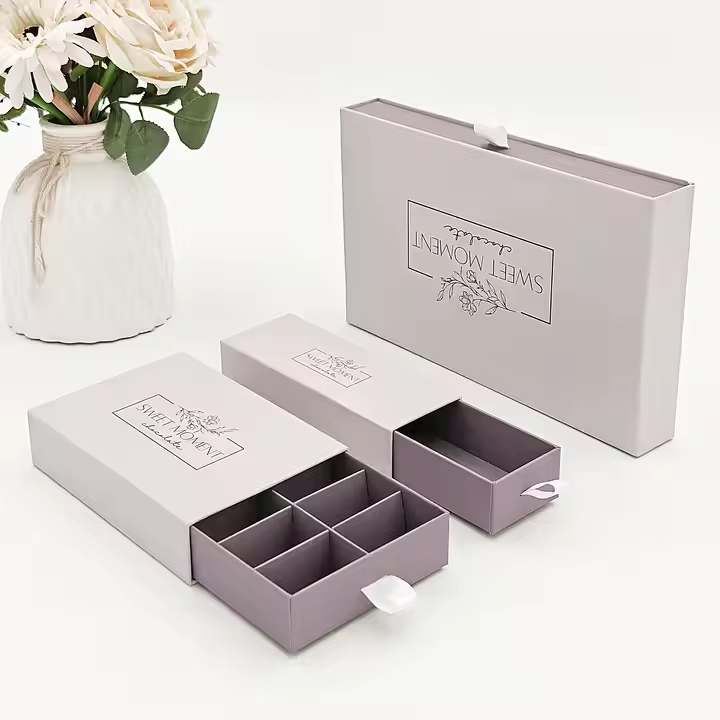
The outer box is a "top and bottom lid" style (opening up and down), with a rectangular bottom plate at the bottom and top, and side plates around.
Drawing of the expansion diagram (taking 12cm long × 8cm wide × 4cm high as an example):
12cm long × 8cm wide (2 pieces, used as the bottom and top of the box, respectively).
The four side panels need to surround the bottom panel, with a total length of (12+8)×2=40cm and a height of 4cm. Draw a strip 40cm long×4cm wide, and then divide it into 4 equal sections (12cm, 8cm, 12cm, 8cm). Mark the folding lines with a pencil.
Use a utility knife to cut the cardboard along the lines, and pay attention to retaining the folding lines (you can use a ruler to lightly draw the folding lines for easy folding).
Bend the long strips of the side panels inward along the folding lines to form a rectangular frame, and glue the two ends of the interface to form the main body of the outer box; then glue the bottom panel to the bottom and the inside of the top of the box, respectively.
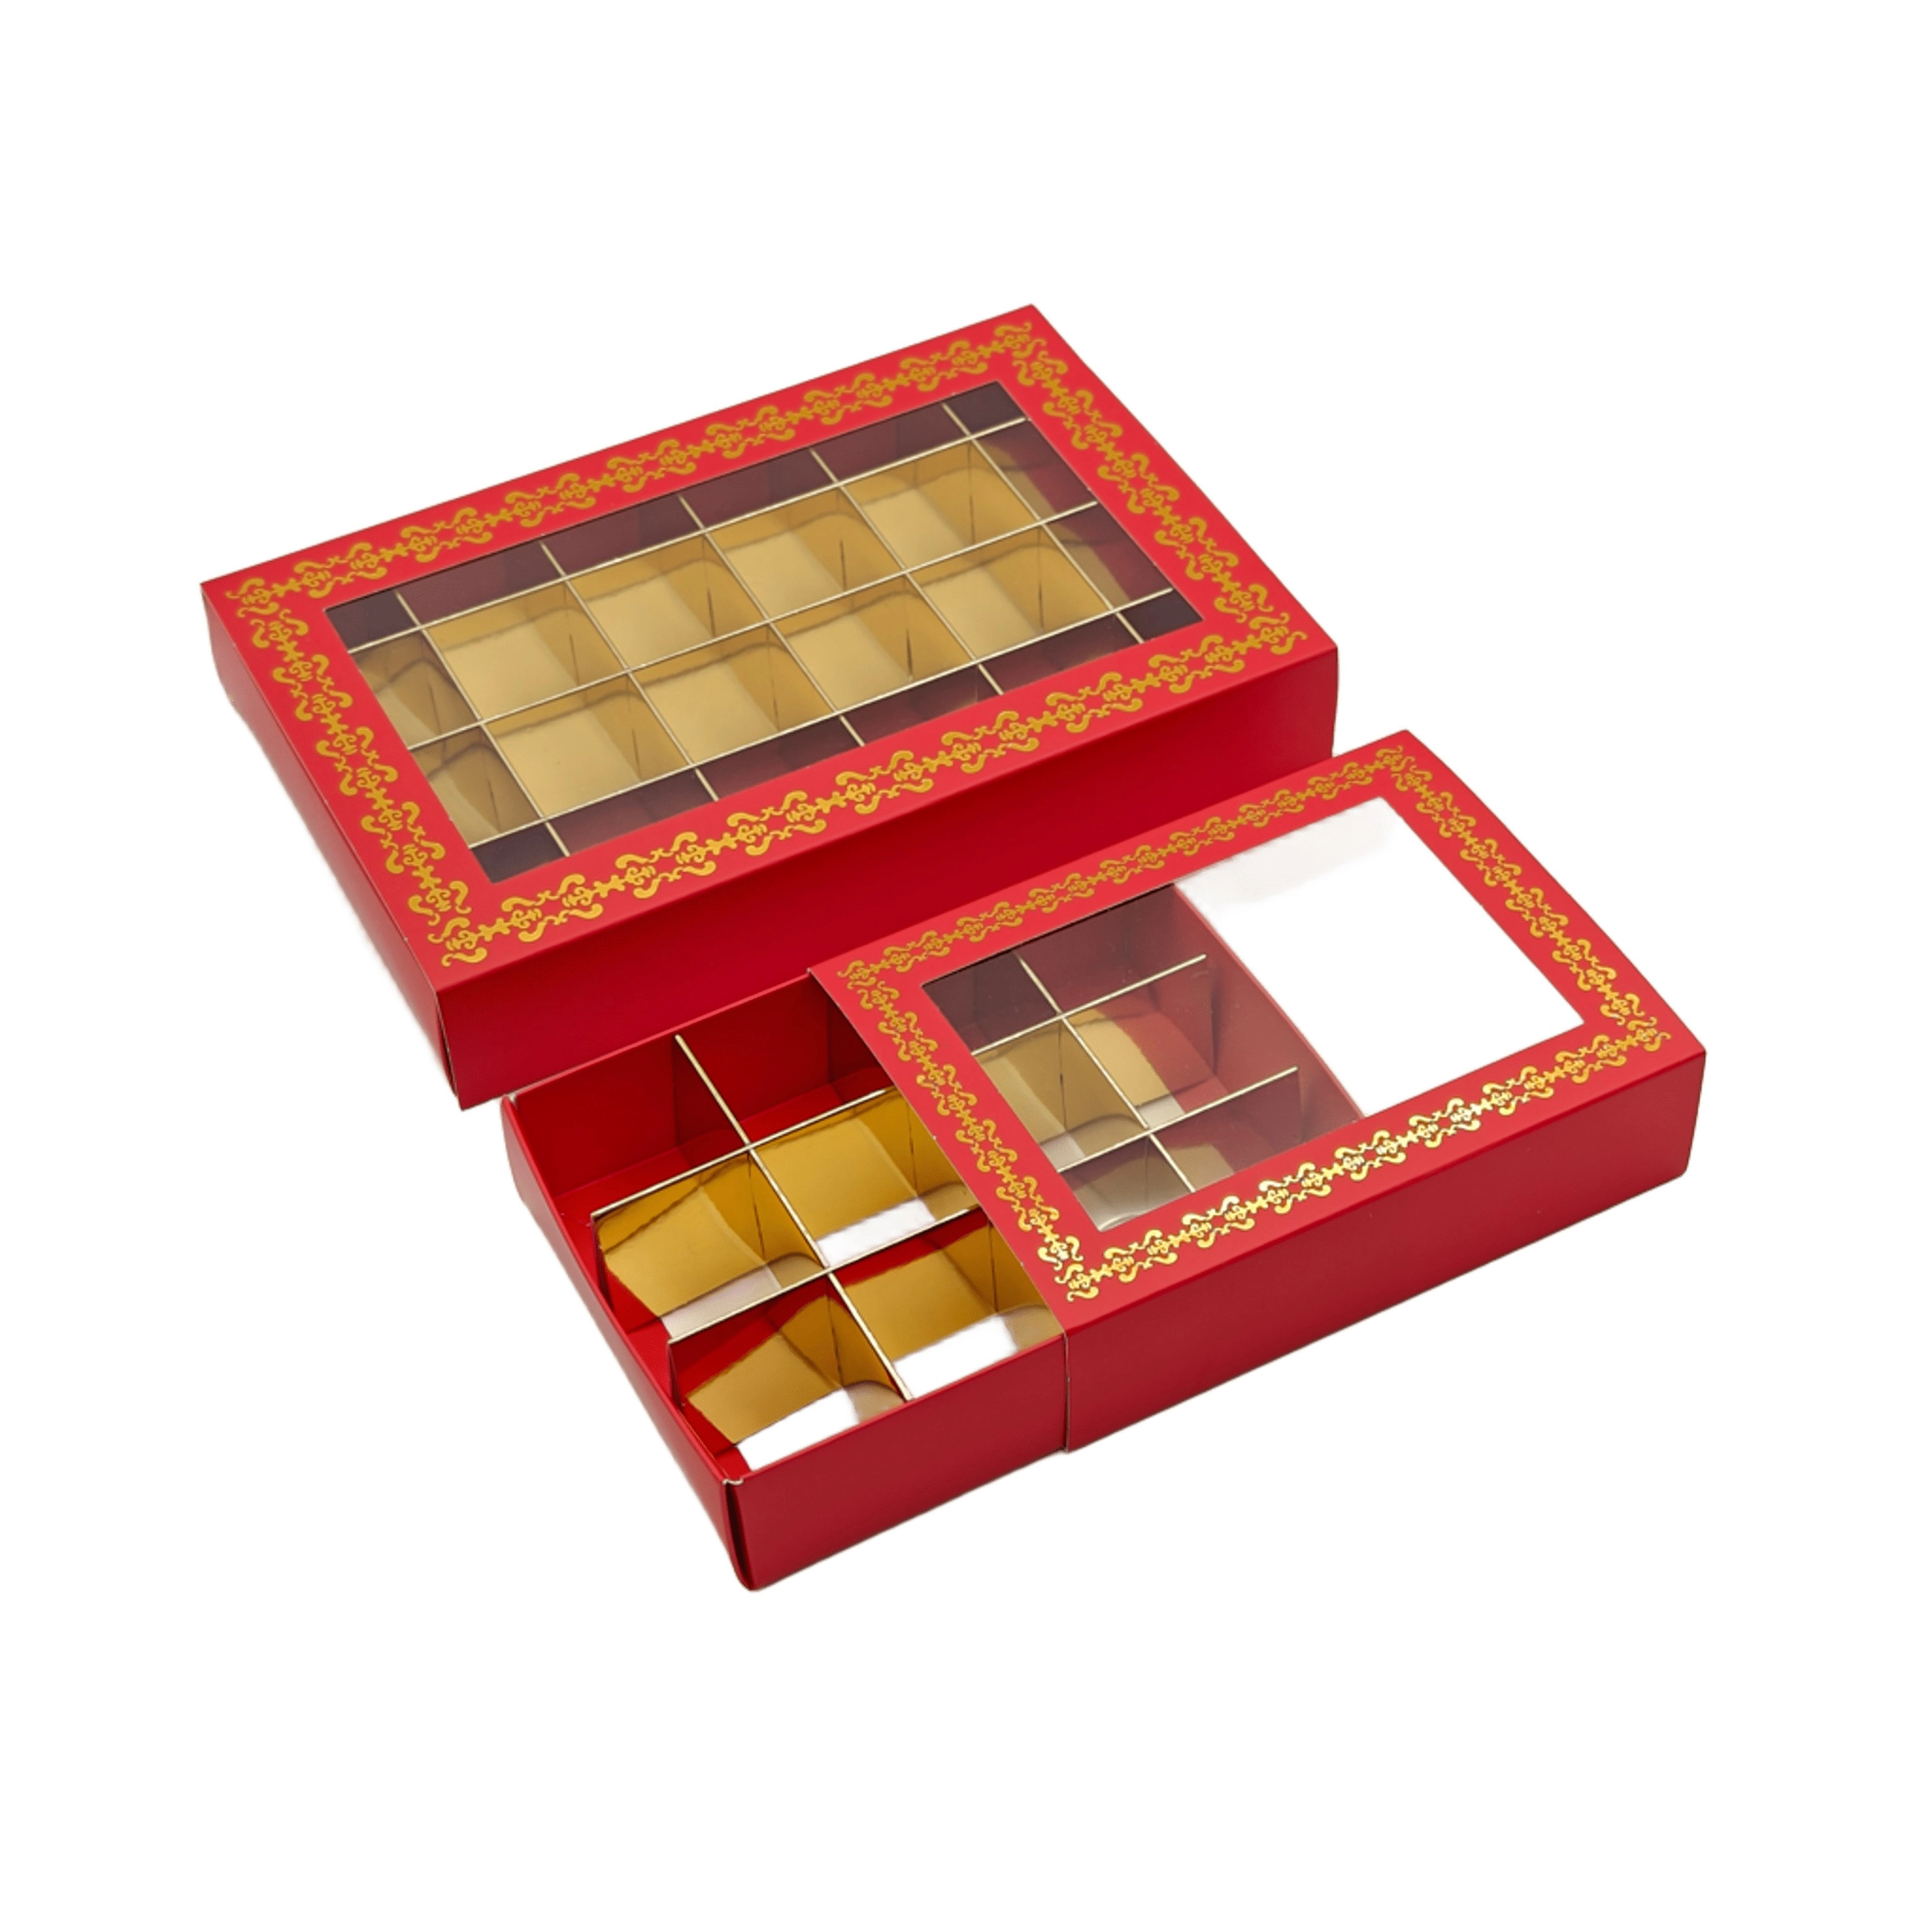
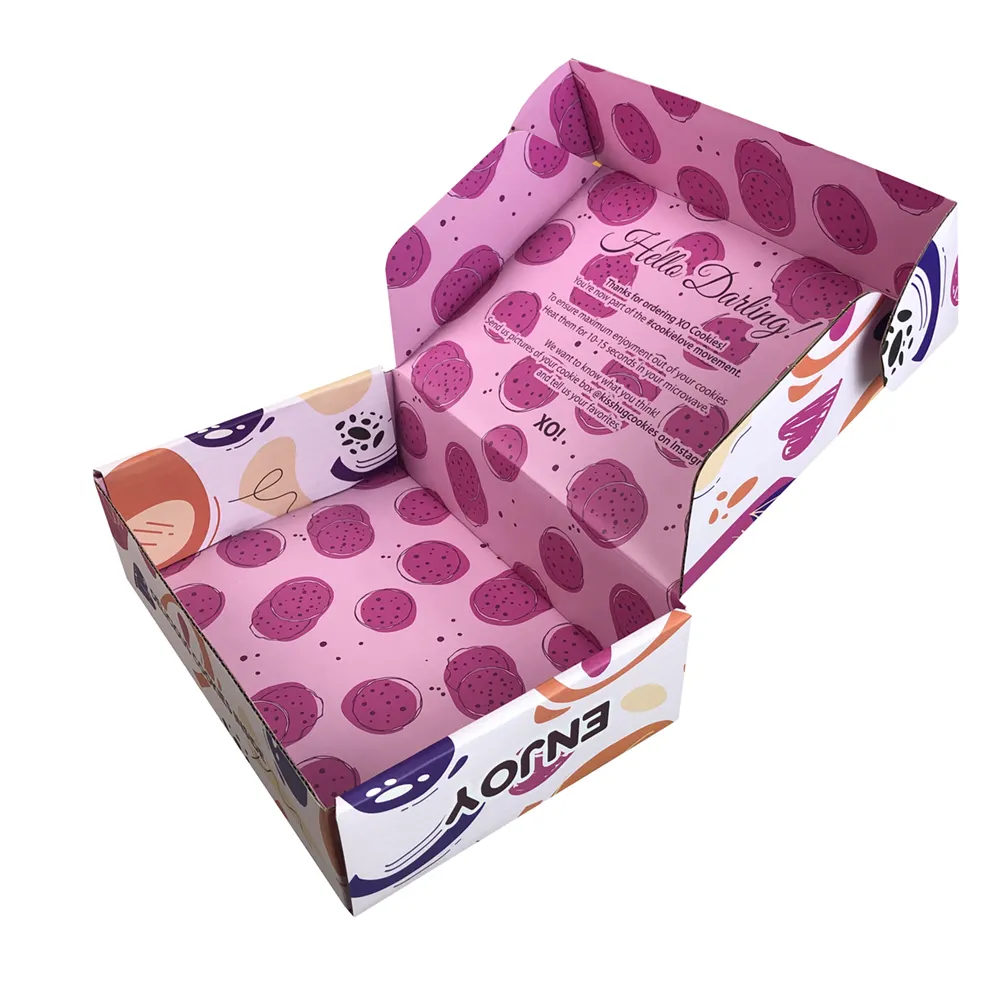
Structure: The drawer is a "rectangle without a lid", which requires a bottom panel and four side panels, and the size is 0.5-1cm smaller than the outer box (to ensure easy extraction).
Draw the expansion diagram (taking 11cm long × 7cm wide × 3.5cm high as an example):
Bottom board: 11cm long × 7cm wide (1 piece).
Sideboard: The total length of the four-sided sideboard is (11+7)×2=36cm, and the height is 3.5cm. Draw it as a strip 36cm long × 3.5cm wide, divided into 4 sections (11cm, 7cm, 11cm, 7cm).
After cutting, bend along the folding line, and the side board is surrounded by a rectangular frame and glued around the bottom board to form the main body of the drawer.
To prevent the bottom of the drawer from cracking, a small piece of cardboard can be attached to the inside of the bottom board for reinforcement; a 1cm wide "handle" can be reserved at the front of the drawer (such as cutting a small groove or sticking a cloth strip).
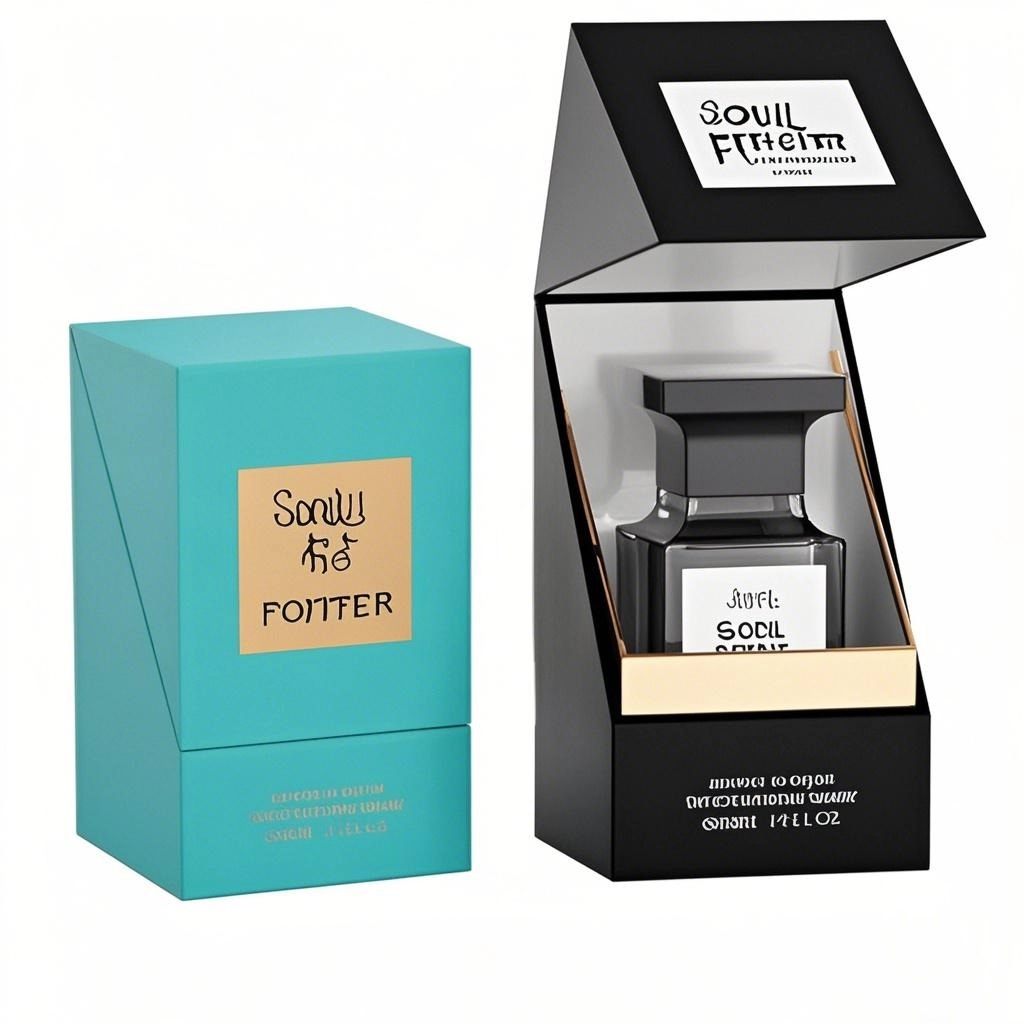
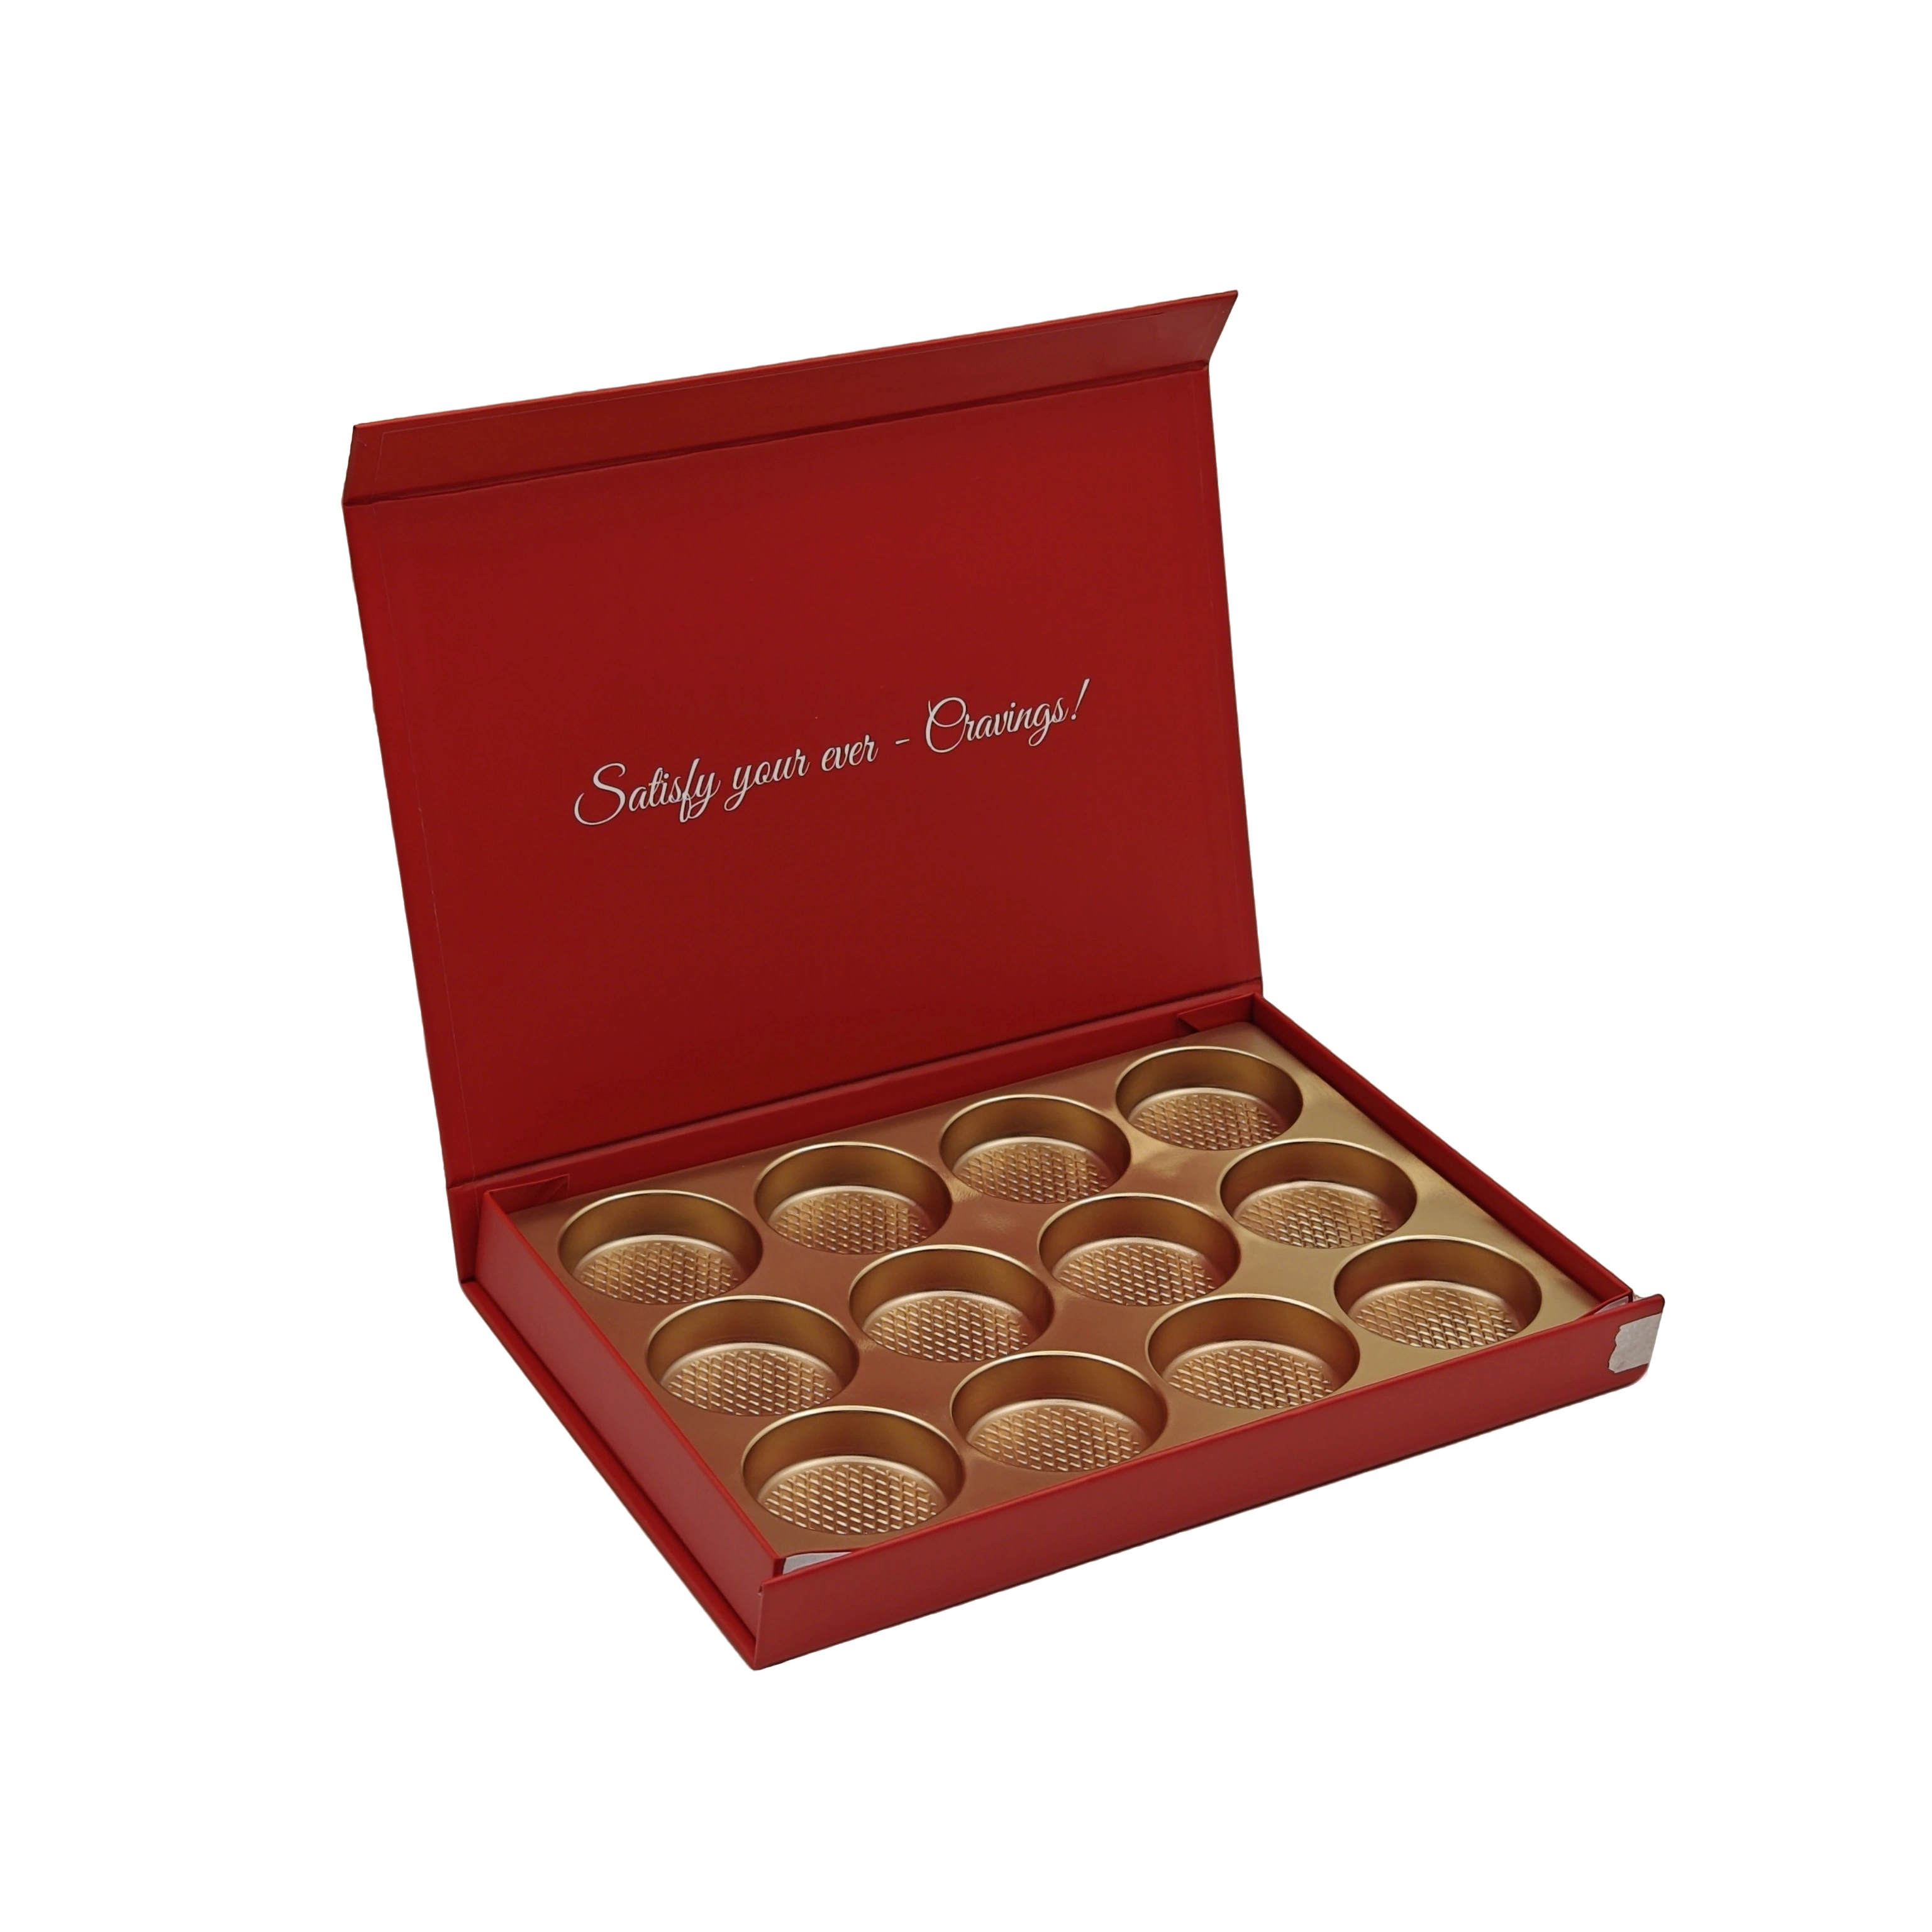
Wrap the outer box with colored wrapping paper, or directly doodle or paste pattern stickers on the cardboard.
A ribbon bow can be tied on the top of the box, or three-dimensional paper flowers or letter stickers (such as "LOVE" and "HAPPY") can be pasted.
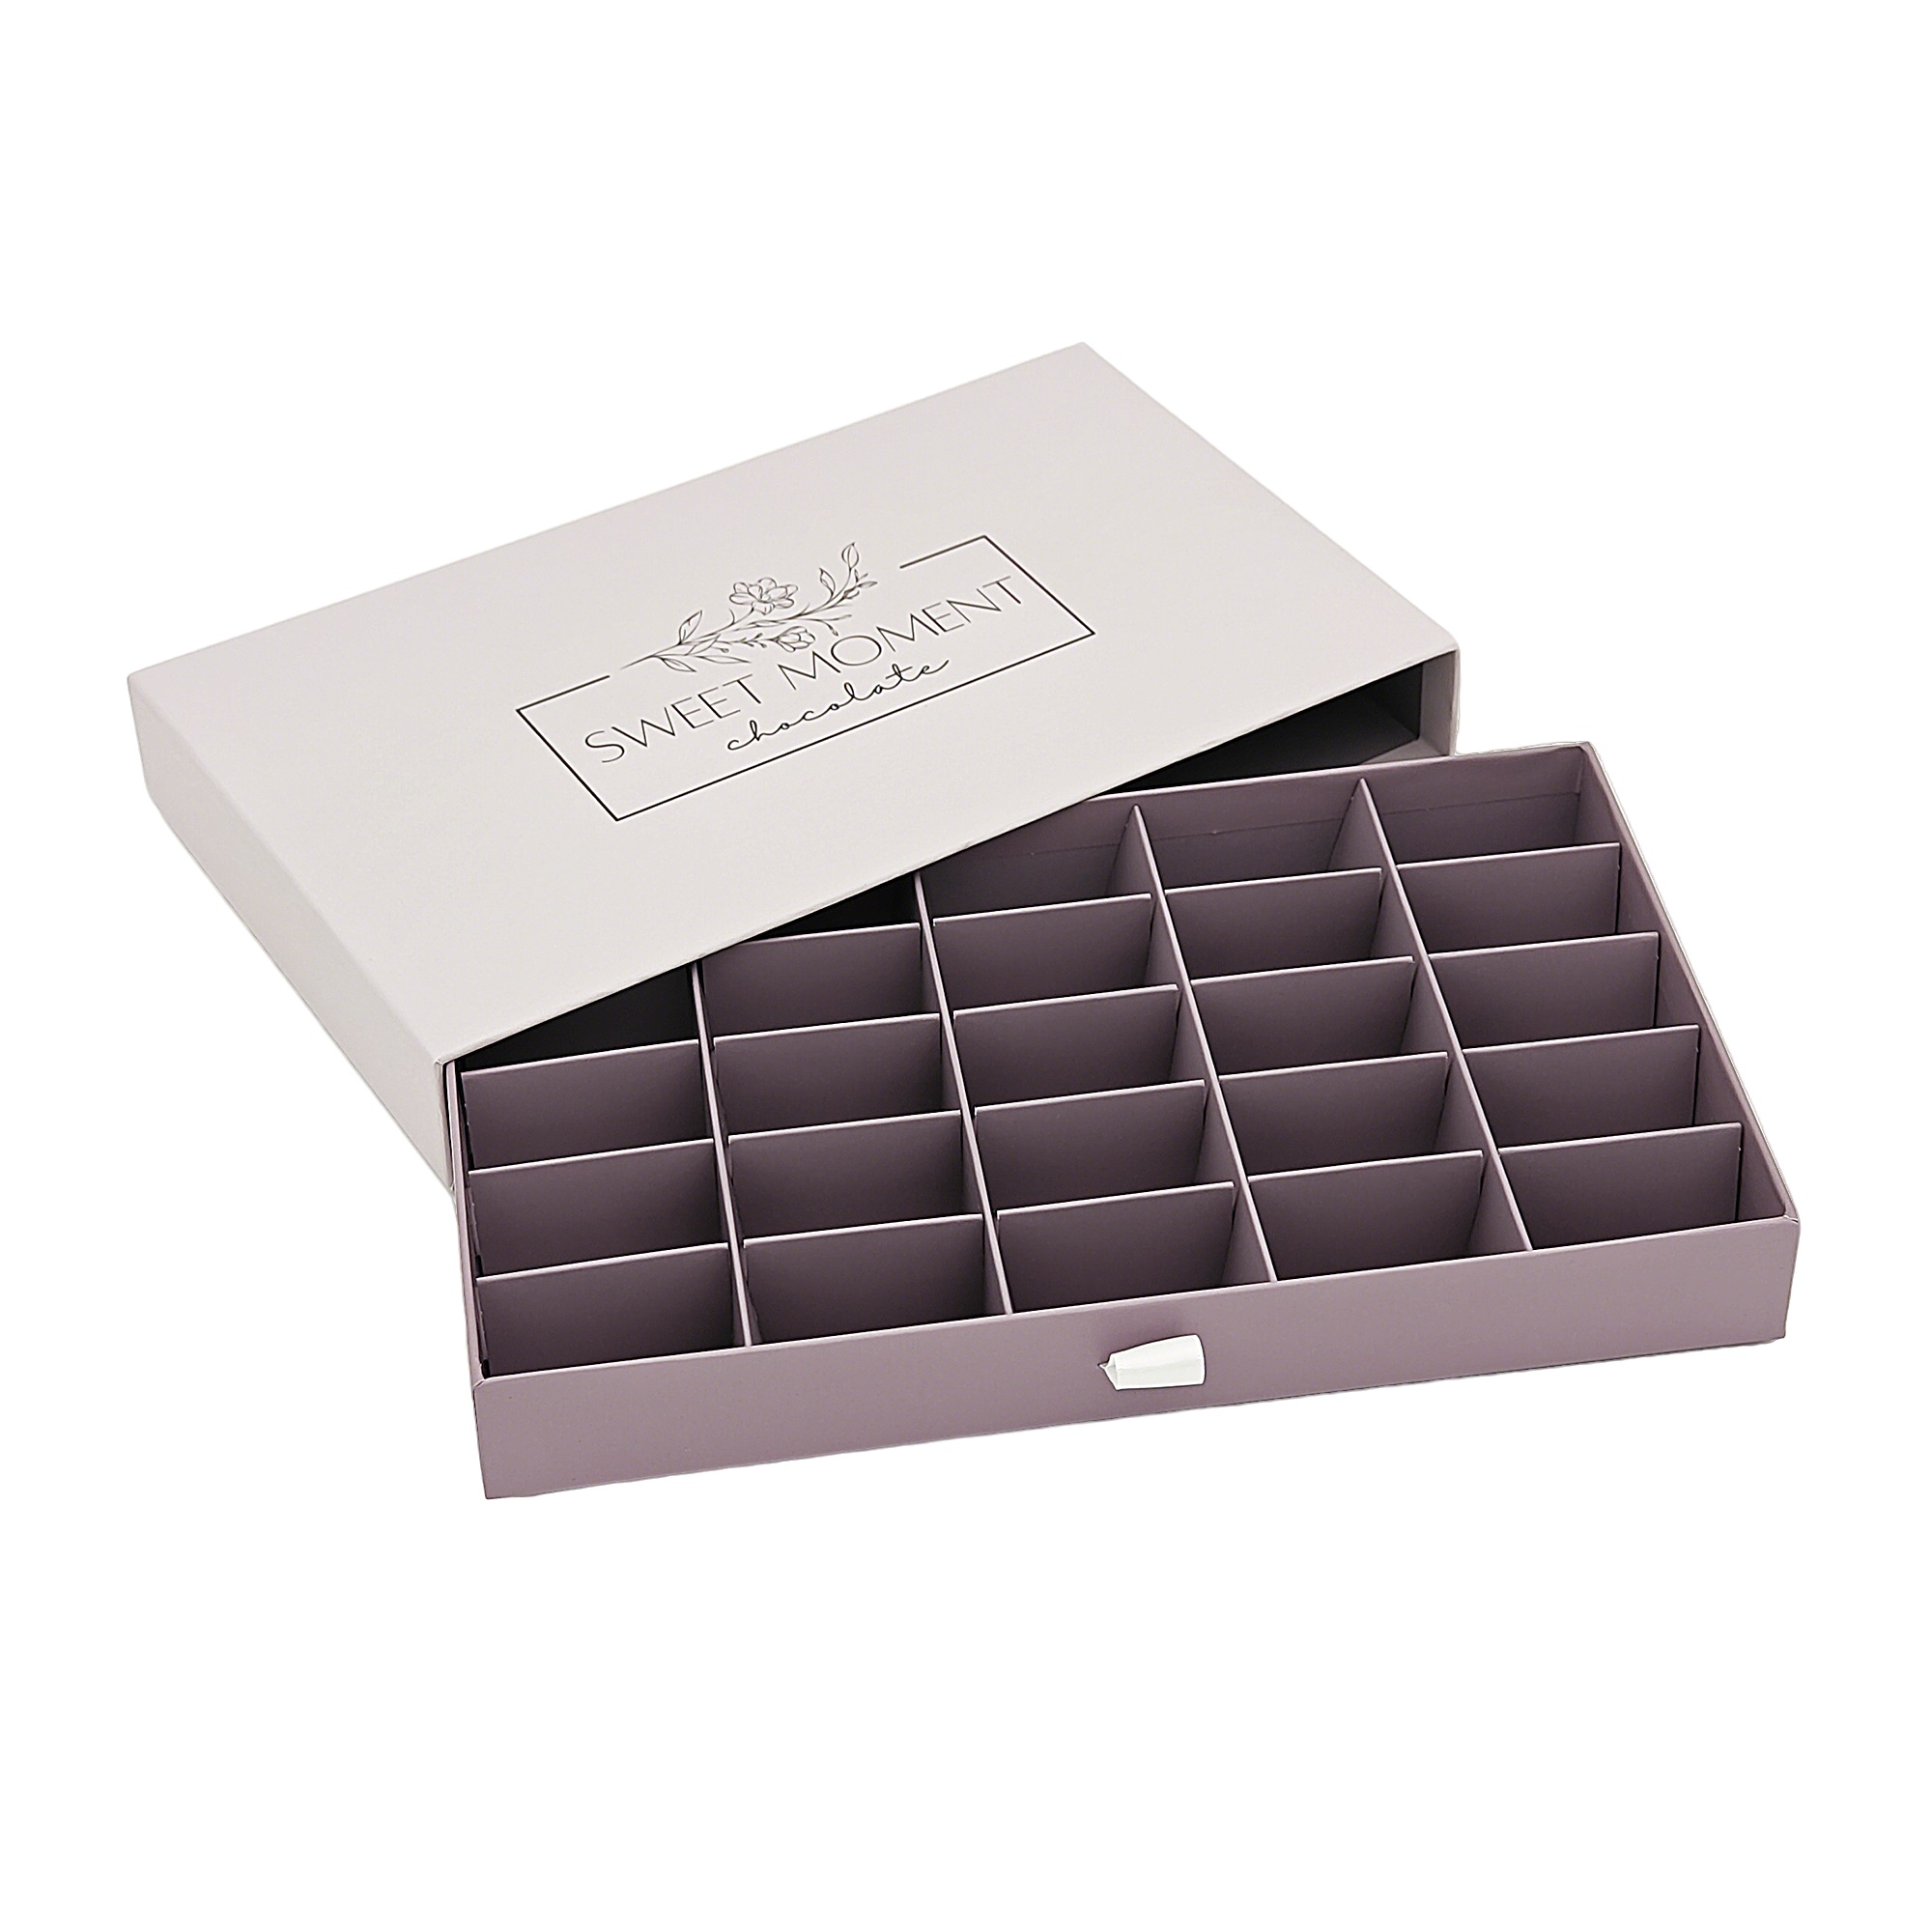
A layer of tin foil or colored tissue paper can be laid on the inside of the drawer to increase the texture and protect the chocolate.
Cartoon stickers or handwritten labels (such as "CHOCOLATE") are pasted on the front of the drawer.
Use a compass to draw two concentric circles (outer circle diameter 10cm, inner circle diameter 8cm), cut out the heart-shaped outline (cut a notch along the half of the outer circle), and fold and glue them into a three-dimensional heart-shaped box.
Paste red flannel on the outer box, and a Christmas tree cut from green cardboard on the top of the box, decorated with gold sequins.
Use a utility knife to carve a hollow pattern (such as snowflakes and hearts) on the side panel, and the light-transmitting effect is more delicate.
Check the size repeatedly before cutting to avoid the inner drawer being too large or too small; the folding line must be clear to ensure the neatness of the box.
Do not use too much glue when pasting to avoid leakage and contamination of the cardboard. You can first use double-sided tape to fix the position, and then use white glue to reinforce it.
If you want to pack heavier chocolates, it is recommended to use thick cardboard or add double-layer cardboard to the bottom of the box to prevent deformation.
Safety tips: Pay attention to hand safety when using a utility knife, and children need to be accompanied by an adult.

Use cardboard to separate small grids in the drawer, and chocolates of different flavors can be placed in categories.
Paste small magnets on the top of the outer box and the front of the drawer for easy opening and closing.
Print photos, handwritten blessings, or use an embossing device to emboss patterns to make the gift box more memorable.
 Wechat
 Tel
Tel