How to make a cardboard drawer box?
May. 07, 2025
Views:25

In a fast-paced life, we often pursue efficient storage solutions, and cardboard drawer boxes are such a clever choice. It turns ordinary cardboard into practical things, which is not only an environmentally friendly reuse of idle materials but also a way to give full play to creativity and give life a unique charm. From an ordinary cardboard box to an exquisite and practical drawer box, every step of production is full of fun and surprises. Next, let's take you on the wonderful journey of making cardboard drawer boxes.

Materials: cardboard (thickness is selected according to needs; generally, 3-5 mm is more suitable), scissors, utility knife, ruler, pencil, white latex or double-sided tape, and decorative paper (optional).
Tools: cutting mat (to protect the desktop), square ruler (to ensure accurate angles).
Determine the size of the drawer box. Determine the length, width, and height of the drawer box according to the size and quantity of items to be stored. For example, the common size of a drawer box can be 20 cm long, 15 cm wide, and 10 cm high.
Draw the expansion diagram of each part of the drawer box on the cardboard with a pencil and ruler. Generally speaking, a drawer box consists of a bottom surface, four sides, and a drawer. The size of the bottom surface is the length and width of the drawer box, and the height of the side is the height of the drawer box. The size of the drawer should be slightly smaller than the internal size of the drawer box to ensure smooth pulling.
Cut the cardboard along the drawn lines with scissors or a utility knife. If you use a utility knife, do it on a cutting mat to protect the tabletop, and be careful not to scratch your fingers.
Fold the cardboard. Fold the cut cardboard along the designed creases to form the shape of a drawer box. You can use a ruler to help fold and make the creases neater.
Fix the parts. Use white glue or double-sided tape to stick the folded cardboard parts together. When sticking, make sure the glue is evenly applied to avoid bubbles or loose sticking. If you use white glue, wait for a while for the glue to dry, and you can use a heavy object to press on the drawer box to make it flatter.
Make the drawer. Fold and stick the separately cut drawer part cardboard in the same way to form the shape of the drawer. Note that the drawer should be of the right size, not too big or too small, and should be able to be pulled smoothly in the drawer box.
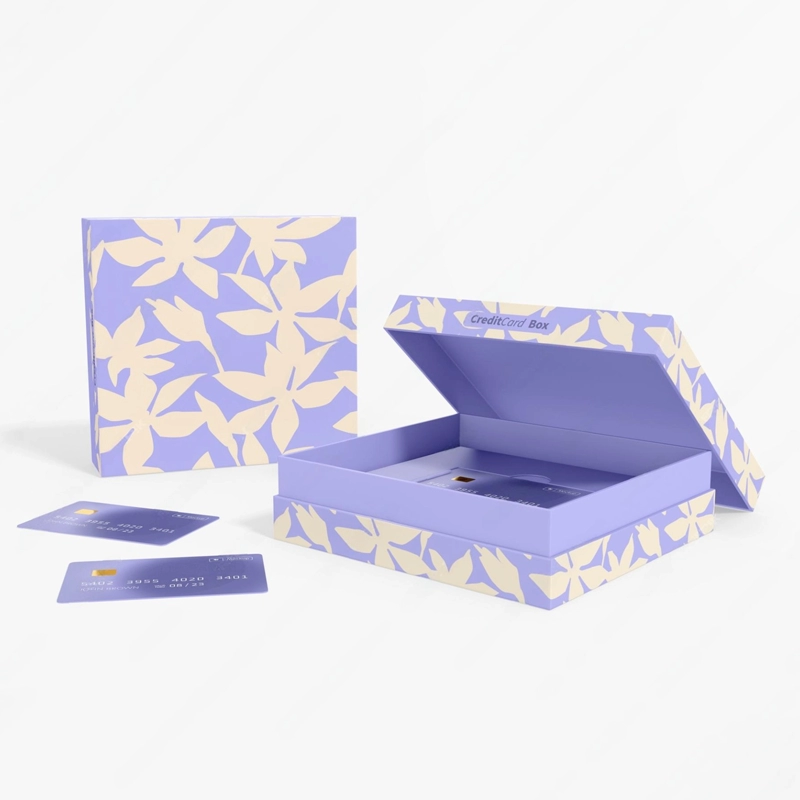
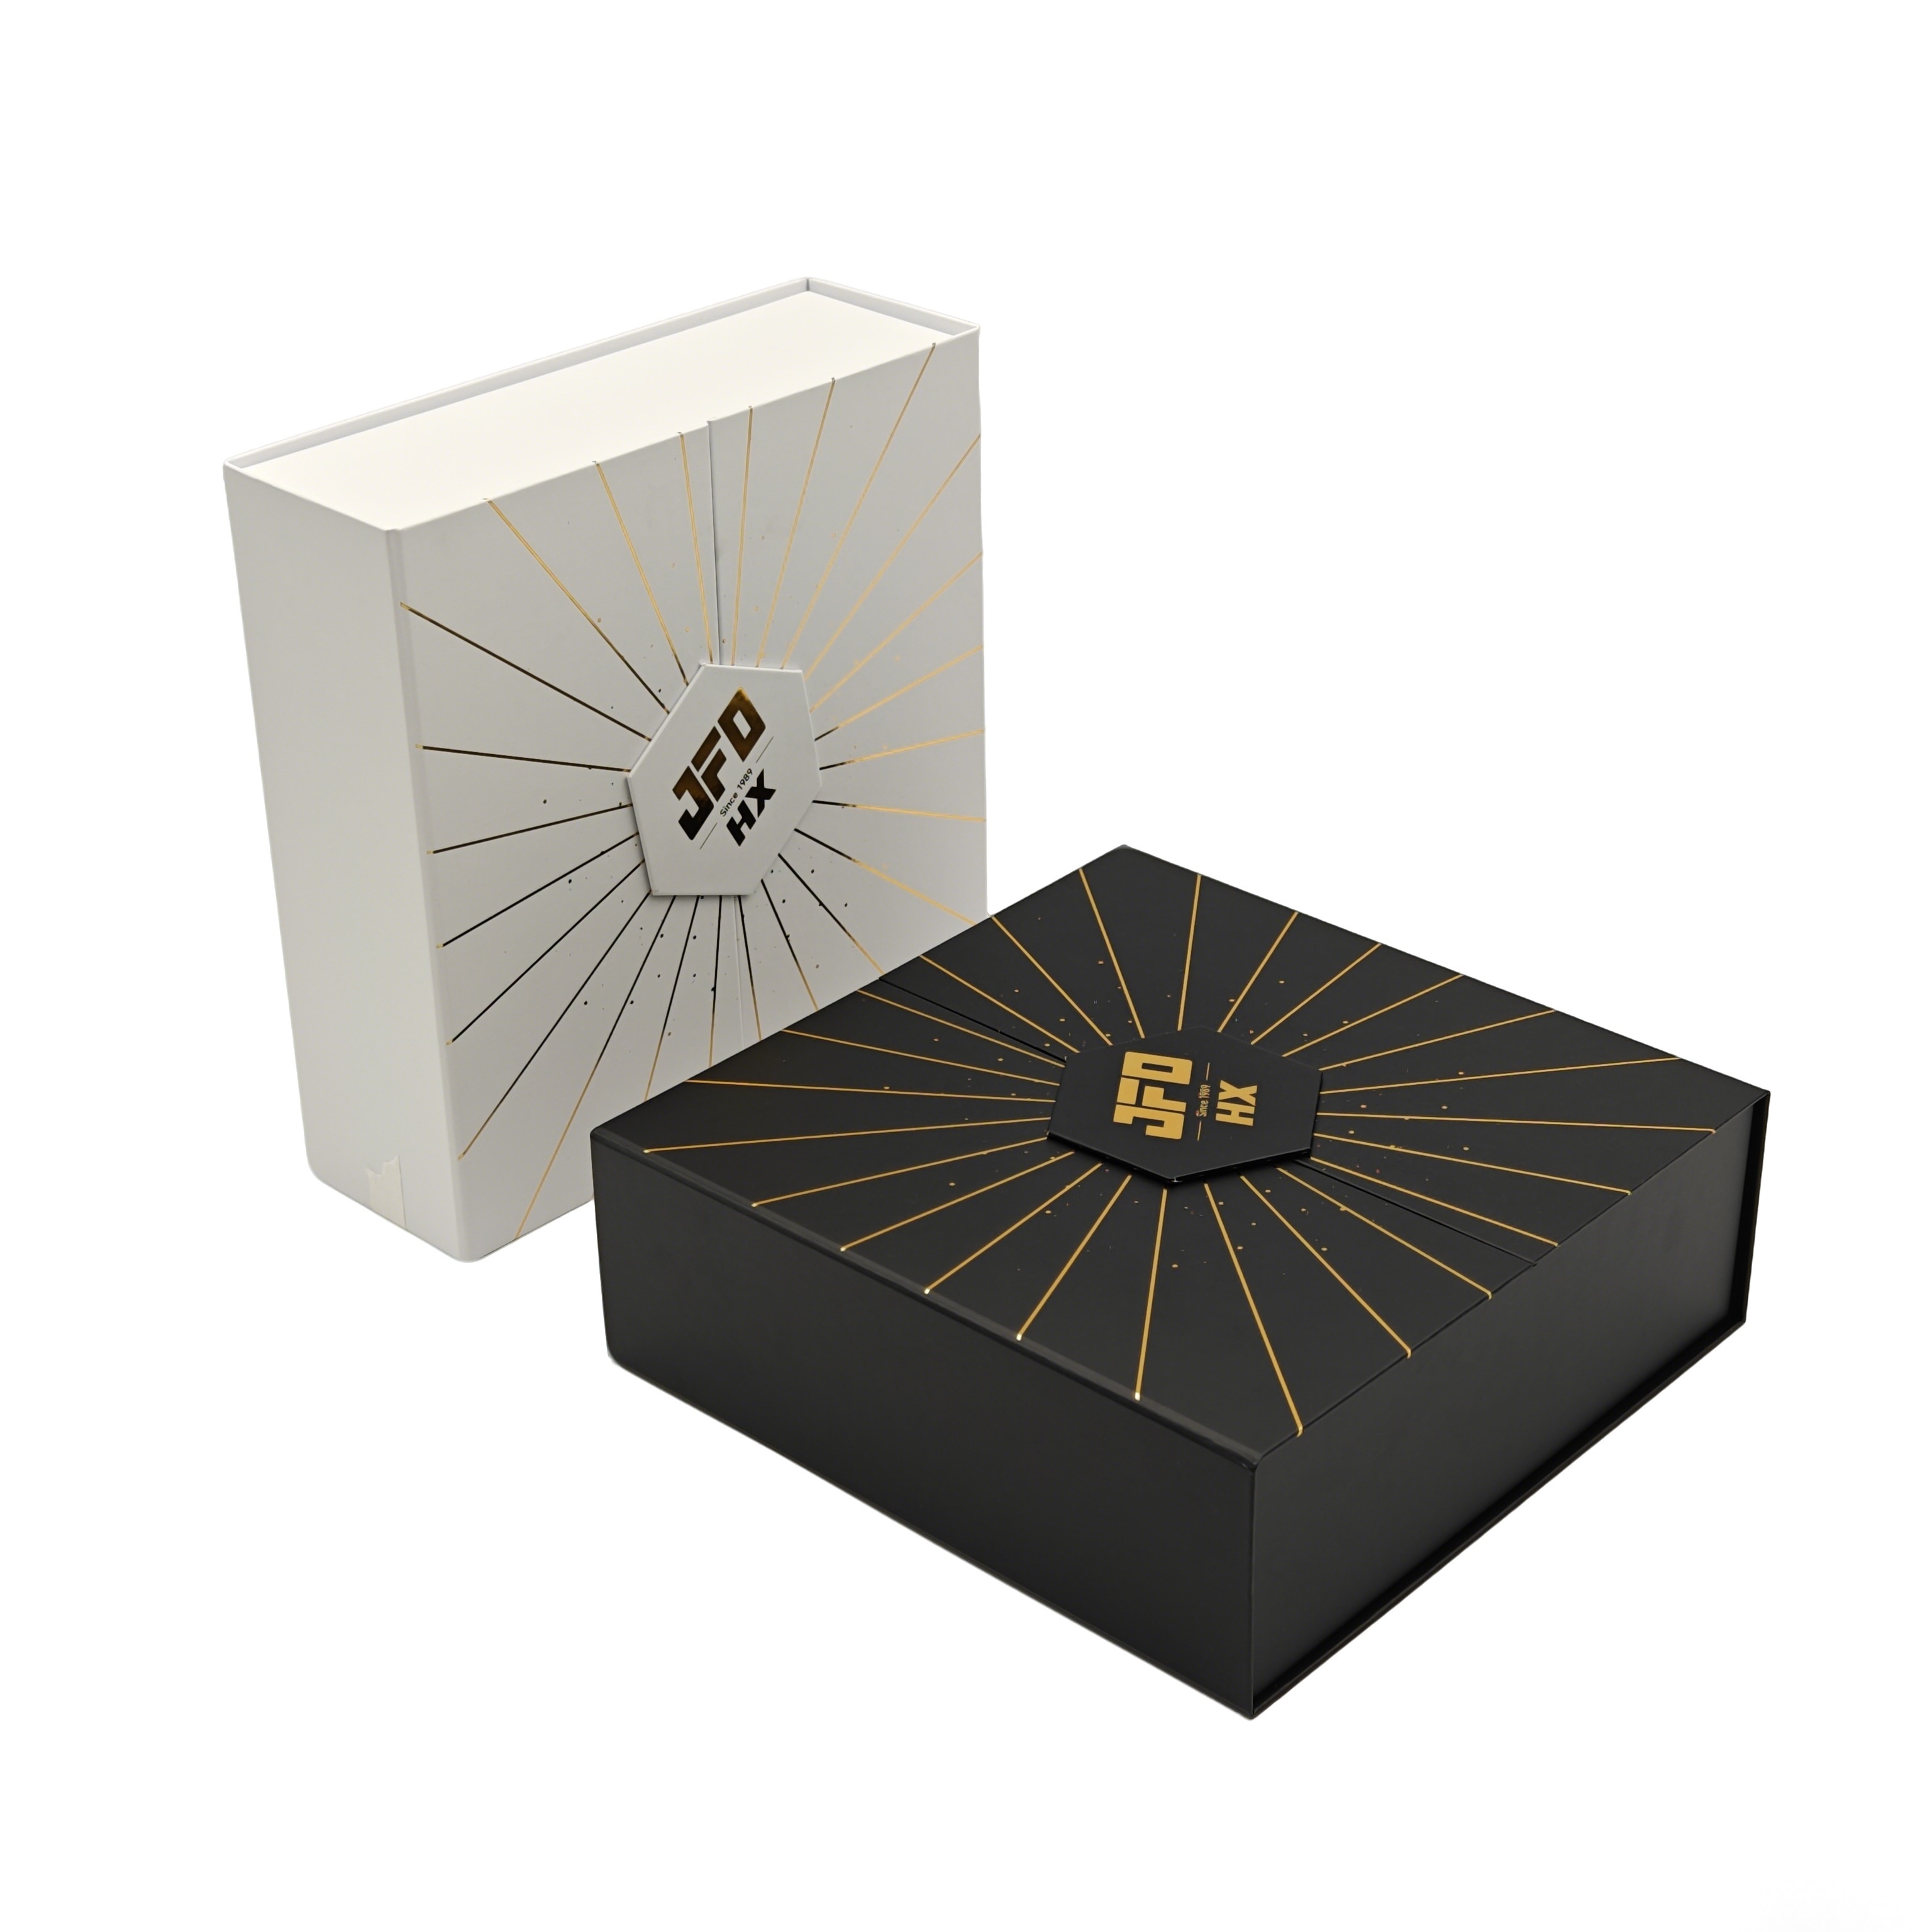
Decorate (optional). If you want to make the drawer box more beautiful, you can wrap it with decorative paper. Cut the decorative paper to the appropriate size and stick it to the surface of the drawer box with glue or double-sided tape. Be careful to smooth the paper to avoid wrinkles.
In this way, a simple cardboard drawer box is completed. You can make drawer boxes of different sizes and styles according to your needs to store various small items, such as stationery, jewelry, sundries, etc.

When making cardboard drawer boxes, there are the following precautions:
Choose cardboard of appropriate thickness according to the size of the drawer box and the weight of the items to be carried. Generally, 3-5 mm thick cardboard is sufficient for small drawer boxes; if you want to store heavier items or make large drawer boxes, you can choose 5-10 mm thick cardboard to ensure the sturdiness of the drawer box.
Choose cardboard with a hard texture, flat surface, no damage, and no wrinkles; otherwise, it will affect the appearance and structural stability of the drawer box.
Use tools such as rulers and squares for accurate measurement to ensure that the dimensions of each part are accurate. Especially the dimensions of the drawer and the drawer box body, to ensure that the drawer can be easily put in and pulled out, and there should not be too much gap to prevent the items from shaking.
When measuring and cutting, take into account the thickness of the cardboard and reserve appropriate tolerance between the drawer and the drawer box. Generally, it is appropriate to reserve a gap of 1-2 mm on one side to ensure smooth sliding of the drawer.

Use sharp scissors or utility knives for cutting. Blunt tools may cause uneven cutting edges and even tear or delamination of the cardboard.
Use a ruler to press marks on the crease before folding, which can make the folding neater and sharper. For thicker cardboard, you can use a blade to gently scratch the crease before folding, but be careful not to cut through the cardboard to help fold.
White latex has strong viscosity and is transparent after drying, which is suitable for large-area pasting; double-sided tape is easy to use and suitable for small-area quick pasting. Choose the right glue according to the actual situation.
Apply the glue evenly to avoid glue accumulation or inadequate application; otherwise, it will affect the pasting effect and cause the cardboard to fall off or gaps.
Give enough drying time after pasting, especially when using white latex; the drying time may be longer. During the drying process, you can use heavy objects to press on the drawer box to keep it flat and prevent deformation.

Choose decorative materials that match the purpose and overall style of the drawer box, such as wrapping paper, colored paper, cloth, etc. At the same time, pay attention to the texture and color of the decorative materials to ensure that they are of good quality and have no fading problems.
When pasting decorative materials, start from one end and paste slowly, and use a scraper or hard card to smooth it out, expel the air, and avoid bubbles and wrinkles that affect the appearance.


 Wechat
 Tel
Tel