en
en es
es ru
ru fr
fr de
de it
it ja
ja ar
ar pt
pt ko
ko tr
tr nl
nl fi
fiHow to Model a Magnetic Fold Box?
Sep. 11, 2025
Views:667
Making a magnetic folding box allows for flexible adjustments in size and structure, making it suitable for DIY (small batches). The steps are clear and easy to follow, focusing on "folding structure design" and "precise magnet installation." The following is a detailed production process. The materials are readily available, making it easy for even beginners to try:


First, determine the size of the box based on the intended item (for example, for jewelry or small stationery, a recommended size of approximately 10 x 8 x 5 cm is recommended). Then, prepare the materials to avoid any omissions during the process:
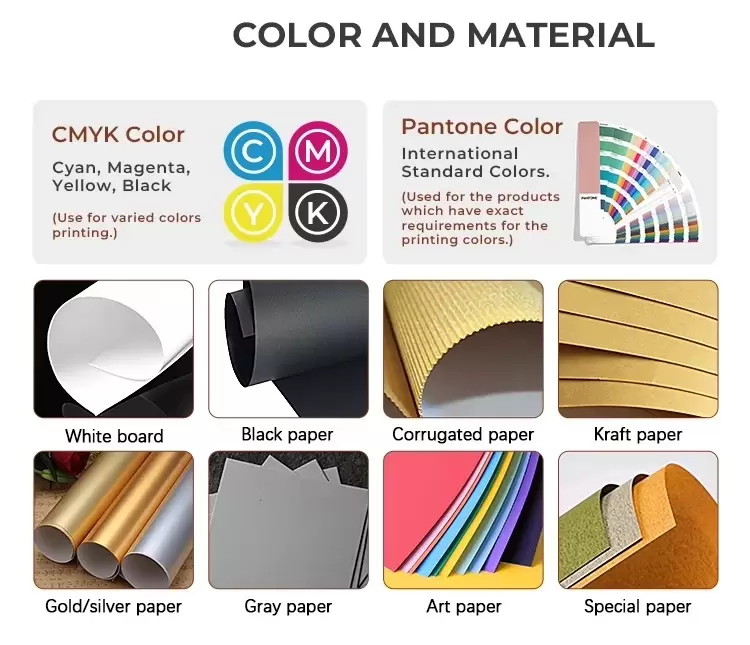
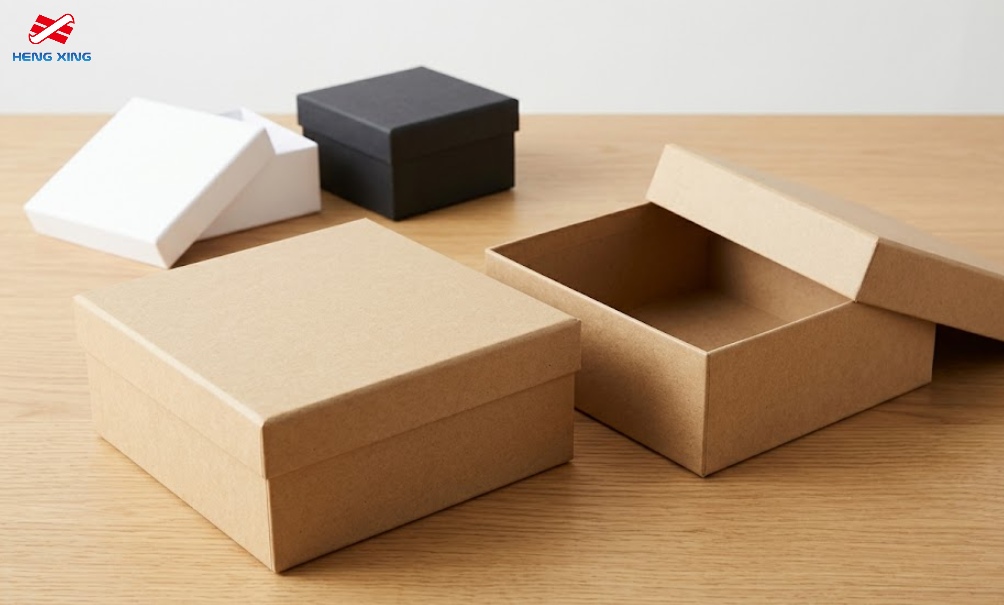
Box Base: Cardboard (grey board or pallet, 1-2mm thick, recommended. Thinner cardboard will warp easily, and thicker cardboard will be difficult to fold; recyclable courier boxes can be cut from cardboard).
Surface Decoration: Colored cardboard, specialty paper (such as kraft paper or vellum), and stickers (optional, for surface enhancement).
Magnets: Small, strong magnets (round/square, 5-8mm diameter, 2-3mm thickness are sufficient. Avoid large or heavy ones to prevent uneven weight on the box. Search online for "DIY small magnets" to find them for a few dollars each).
Securing Materials: White glue (suitable for cardboard, slow-drying but strong), hot glue gun (for magnets, fast-drying; beginners should have one handy, but be careful not to burn it).
Measuring Tools: Ruler (straightedge/tape measure), pencil, eraser (for drawing the unfolded image).
Cutting Tools: Scissors (for cardboard/thin cardboard), utility knife + cutting mat (for neater cardboard cuts and to avoid scratching the surface).
Assisting Tools: Bone cutter/fingernail (for smoother folds), clips (for holding glued parts in place while the glue dries).
The core of a magnetic foldable box is "foldability + magnetic closure." The unfolded diagram should include the "box body, lid, folding edge, and magnet mounting area." It's recommended to sketch it on paper first, then trace it onto cardboard.
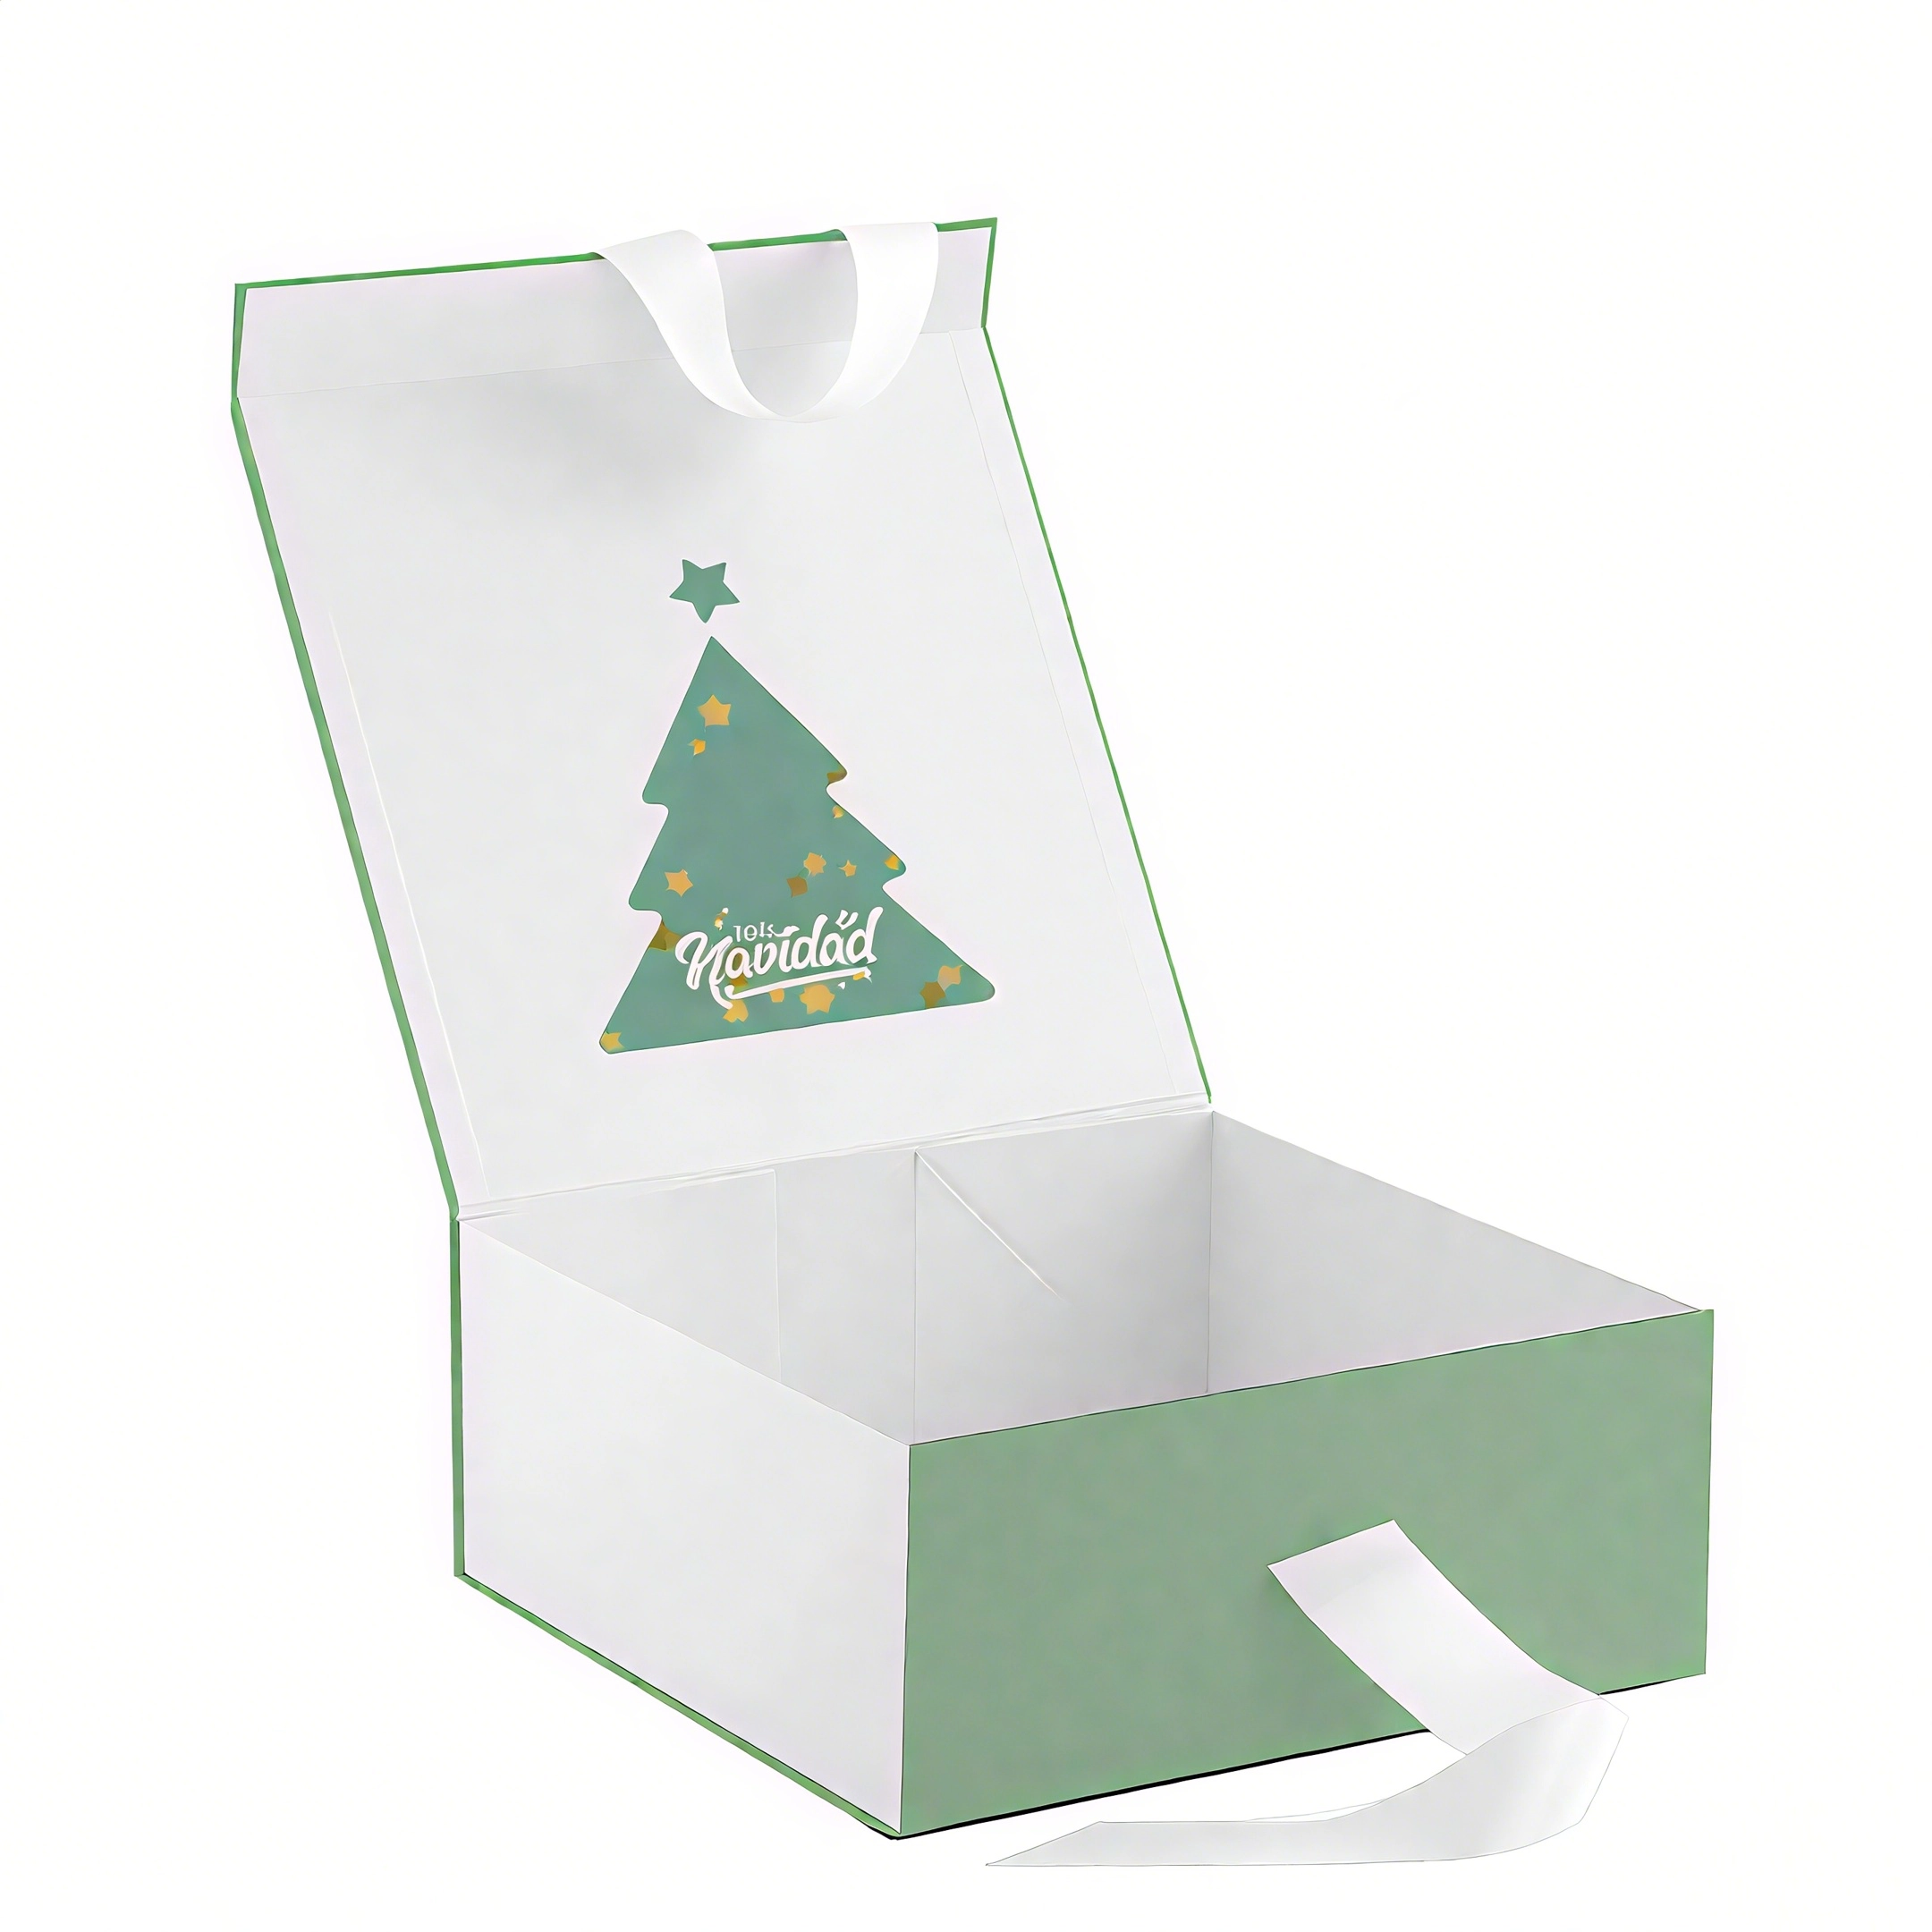
Beginners should consider a structure where the lid and box body are integrated. This structure is flat when unfolded and closes with magnets when folded, resulting in fewer steps and easier operation. Structural Disassembly:
Box Body: Rectangular frame (consisting of a "base panel + two long side panels + two short side panels").
Lid: Connected to one of the long side panels, it should be the same width as the box body and long enough to cover the opening (1-2 cm longer than the box body height to prevent leaks).
Folding Edge: Leave a 1-2 cm "bonding margin" on the edge of the side panel (to be glued to the base panel or adjacent side panel after folding to secure the box).
Magnet Mounting: Leave a "magnet slot" on the edge of the box lid and the corresponding edge of the box side panel at the red dot position in the picture (or stick it directly to the surface; it is recommended to hide it inside for a better appearance).


Using a 10 × 8 × 5 cm box as an example, the dimensions for the unfolded diagram are as follows (in cm):
Bottom: 10 (length) × 8 (width) - the interior bottom area of the box.
Long Side Panels: 2 pieces, measuring 10 (length) × 5 (height) - connect to the long side of the bottom panel, height = box height.
Short Side Panels: 2 pieces, measuring 8 (length) × 5 (height) - connect to the short side of the bottom panel, height = box height.
Lid: 1 piece, measuring 10 (length) × (5 + 2) = 7 (width) - the length matches the long side panel, width = box height + 2 cm (lid margin).
Folding Edges: Leave a 1cm-wide "sticky strip" along the edge of each side panel (for example, leave 1cm on each side of the long side panel, and 1cm on each side of the short side panel. After folding, stick it to the inside of the adjacent side panel).
Use a pencil to draw a rectangle (the base panel) on cardboard. Then, draw a long side panel on each of the top and bottom edges of the base panel (the same length as the base panel, 5cm high), and a short side panel on each of the left and right edges of the base panel (the same width as the base panel, 5cm high).
Draw the lid (the same length as the long side panel, 7cm wide) on the top edge of the long side panel to which the lid will attach.
Draw a 1cm-wide sticky strip along the edges of all side panels (mark the "fold line" with a dotted line to distinguish the sticky strip from the side panels).
Mark a small circle on the inside of the free edge of the lid (away from the connection) and on the outside of the corresponding side panel (where the magnets are mounted, aligned, for example, 1cm from the edge).
Cut according to the unfolded diagram. Focus on "cutting the edges evenly" and "pressing the creases firmly," otherwise the box will be prone to warping after folding.
Use a utility knife (or scissors) to cut the cardboard along the pencil lines. Be careful not to cut off the adhesive strips and leave the edge connecting the lid and side panels intact (do not cut it; this is the "axis" for folding).
After cutting, lightly sand the edges (if any) to avoid scratching your hands.
Use a ruler to align the "fold lines" on the unfolded diagram (where the bottom panel meets the side panels, where the side panels meet the adhesive strip, and where the lid meets the side panels). Use a bone knife (or the back of a fingernail, or a utility knife) to press firmly several times to create deep creases (don't cut the cardboard, just press the soft fibers).
After pressing, test fold: fold the side panels upward (perpendicular to the bottom panel), fold the lid downward (perpendicular to the side panels), and fold the adhesive strip inward. Ensure the folds are smooth and without any sags. (If any part of the fold is off, re-press the fold.)
The magnets are crucial to closure. They must be aligned correctly and the polarity must be reversed (otherwise, they will repel). It's recommended to test fold them before securing. 1. Determine and mark the magnet positions.
Following the markings on the unfolded diagram, draw a small circle on the "Inside edge of the box lid" and the "Outside edge of the corresponding side panel" (the two positions must align, otherwise they won't stick when the box is closed).
Place two magnets at the marked positions. Close the box lid. If they stick firmly, the positions and polarities are correct. (If they stick, flip one magnet over.)
Use a hot glue gun to apply a small amount of glue to the back of the magnet (not too much to avoid overflow). Quickly adhere the magnet to the marked position and press it down with your finger for 10 seconds (hot glue dries quickly). If using white glue, apply it thinly, secure it with a clip, and wait for 1 hour to dry (ideal for less urgent situations).
For a more aesthetically pleasing design, cut a shallow groove slightly smaller than the magnet in the magnet position (use a utility knife to gently cut out a layer of cardboard, but don't dig through it). Insert the magnet into the groove and then glue it in place (make sure the surface is flat so the magnet isn't visible).
Glue the side panels and adhesive strips in the folding order, transforming the flat unfolded view into a 3D box. The key is to "align and glue firmly."
Lay the base flat. Fold one of the short side panels upward (perpendicular to the base). Fold the adhesive strips on both sides of the side panel inward (attach to the left and right edges of the base).
Apply white glue (or hot melt glue) to the adhesive strips, align them with the edges of the base, and secure them with clips. (If using hot melt glue, press them for 10 seconds after attaching.)
Continue the same method to glue the other short side panel.
Fold one long side panel upward (perpendicular to the base). The sides of the long side panel will now rest against the sides of the short side panel.
Apply glue to the adhesive strips on the long side panels, fold them inward, and adhere them to the outside of the short side panels (align the edges and leave no gaps).
After attaching, check: the box is square (measure the diagonals with a ruler; they are square if they are the same length) and that the side panels are perpendicular to the bottom panel (if they are crooked, gently adjust them and reattach them).
Close the lid and check that the magnets are firmly attached. (If they are not firmly attached, the magnets may be misaligned; gently remove them and reattach them. If the attraction is weak, replace them with larger magnets.)
Open and close the lid several times to ensure it fits smoothly (do not get stuck. If the lid is crooked, adjust the crease connecting the lid to the side panels).
Beautify the surface to your liking with simple steps:
Cut a piece of colored cardboard or specialty paper slightly larger than the box. Apply white glue evenly to the box surface (don't apply too much to prevent bubbles). Align the edges and secure, trimming any excess. (The inner edge can be folded into the box for a more even finish.)
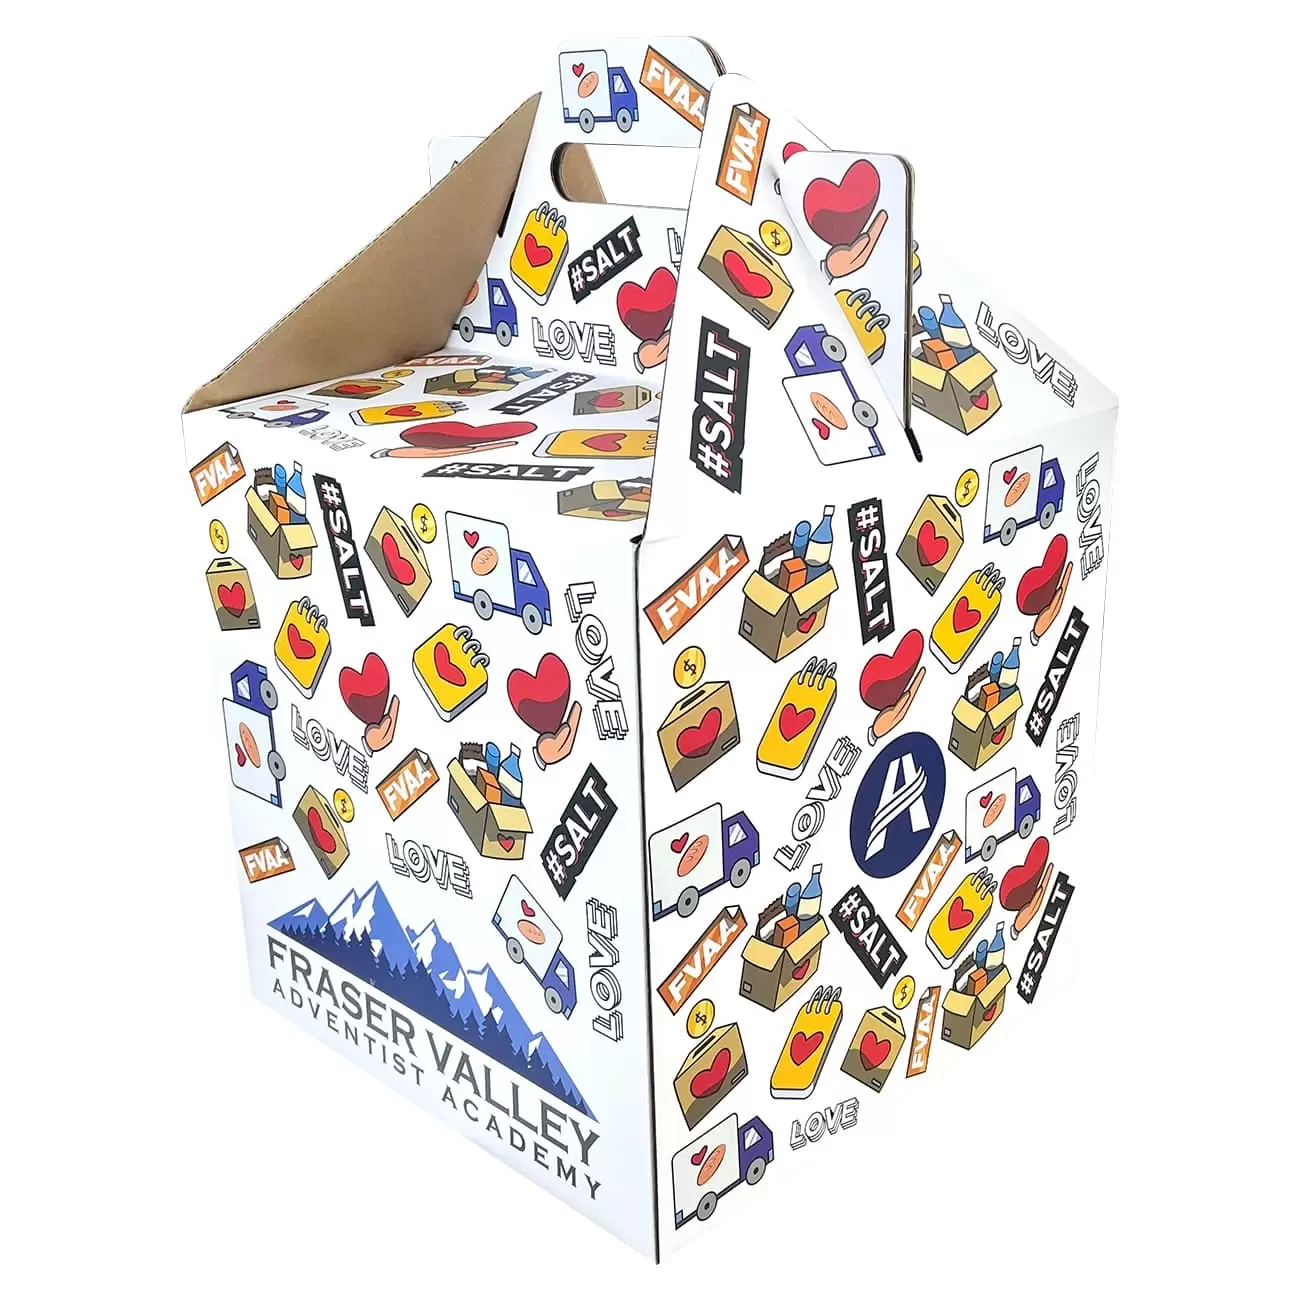
Use a marker to draw a pattern on the box lid, or apply a brand logo or cartoon stickers for a personalized design.
If the edges of the cardboard are exposed, tape them with colored tape (choose the same color as the decorative paper) for
a more aesthetically pleasing look and to prevent fraying.
Always test the magnets before attaching. If they "push" apart when brought close together, flip them over immediately (magnets have positive and negative poles, and like poles repel each other).
Cardboard thicker than 2mm breaks easily when folded. Beginners should practice with a thickness of about 1mm. Use a moderate a
Too much white glue will seep into the surface, and too much hot melt glue will overflow; a thin layer is sufficient.
Design the box's interior dimensions to be 0.5-1cm larger than the item (for example, if you want to fit jewelry that's 8x5cm, make the bottom 9x6cm) to avoid underfilling.
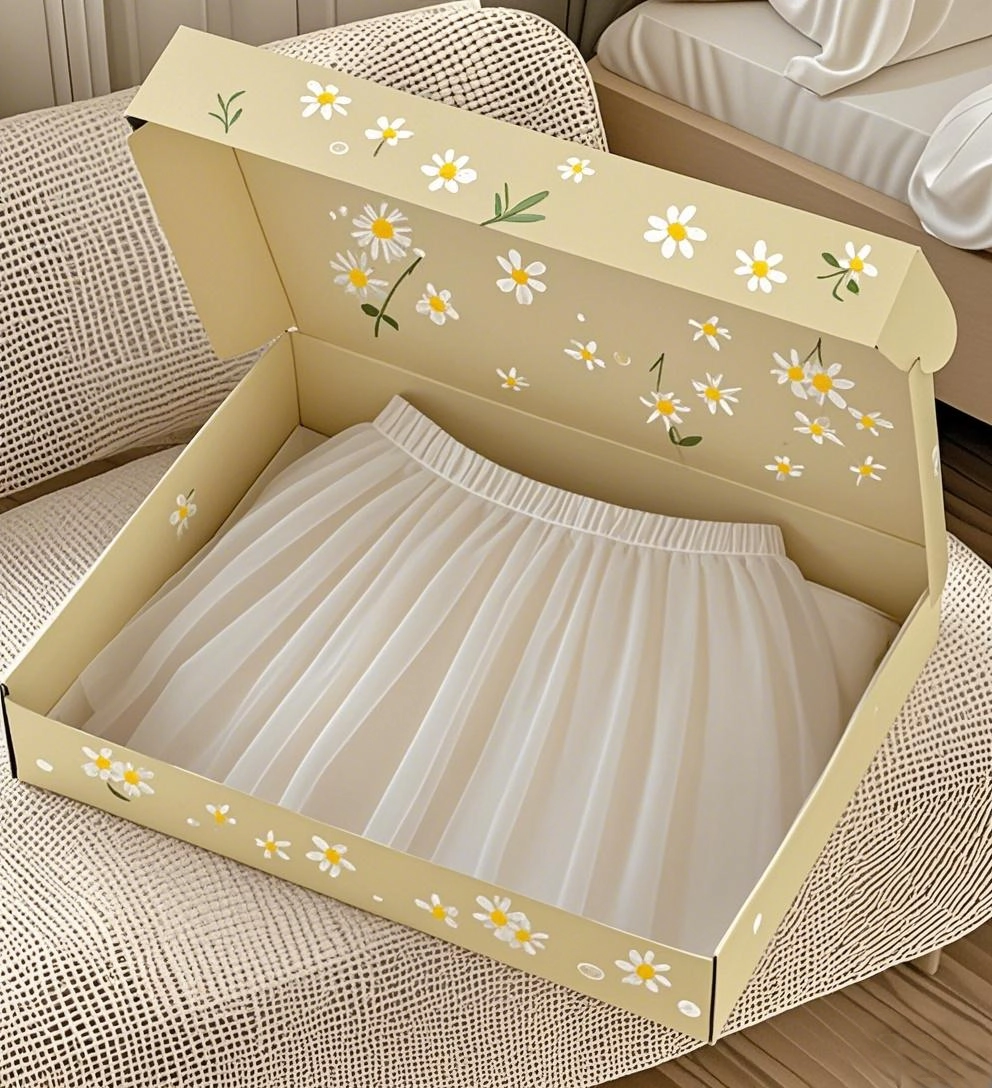
Following these steps, you can create a simple magnetic folding box in 1-2 hours. It's perfect for storing small items and making gift boxes, and the structure can be customized (e.g., adding lining or creating layers). If you need to make a large batch, you can make multiple copies of the unfolded diagram and cut them in batches for greater efficiency.
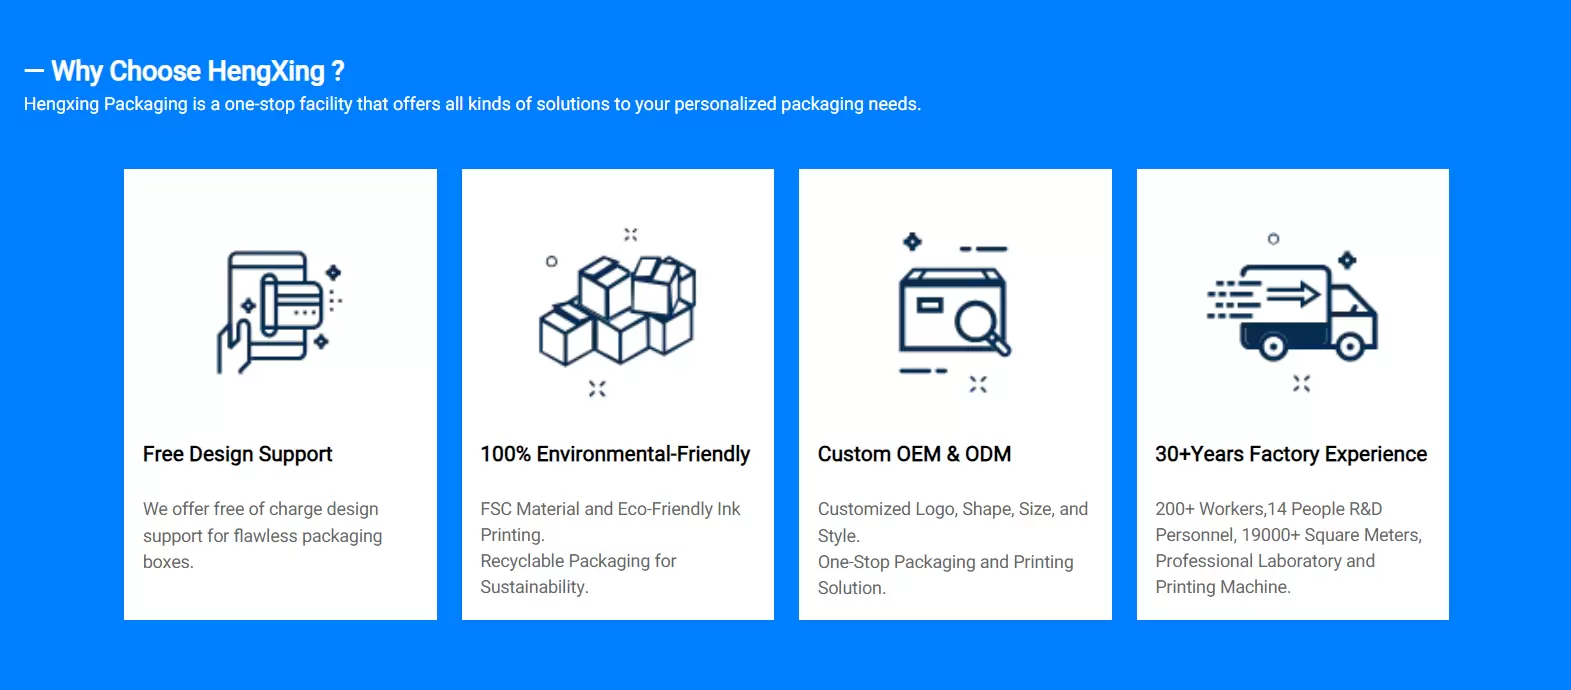
Choosing a reliable partner for magnetic folding box production is crucial to ensuring quality, efficiency, and cost-effectiveness. Here are the key reasons why we're your top choice for magnetic folding box production:
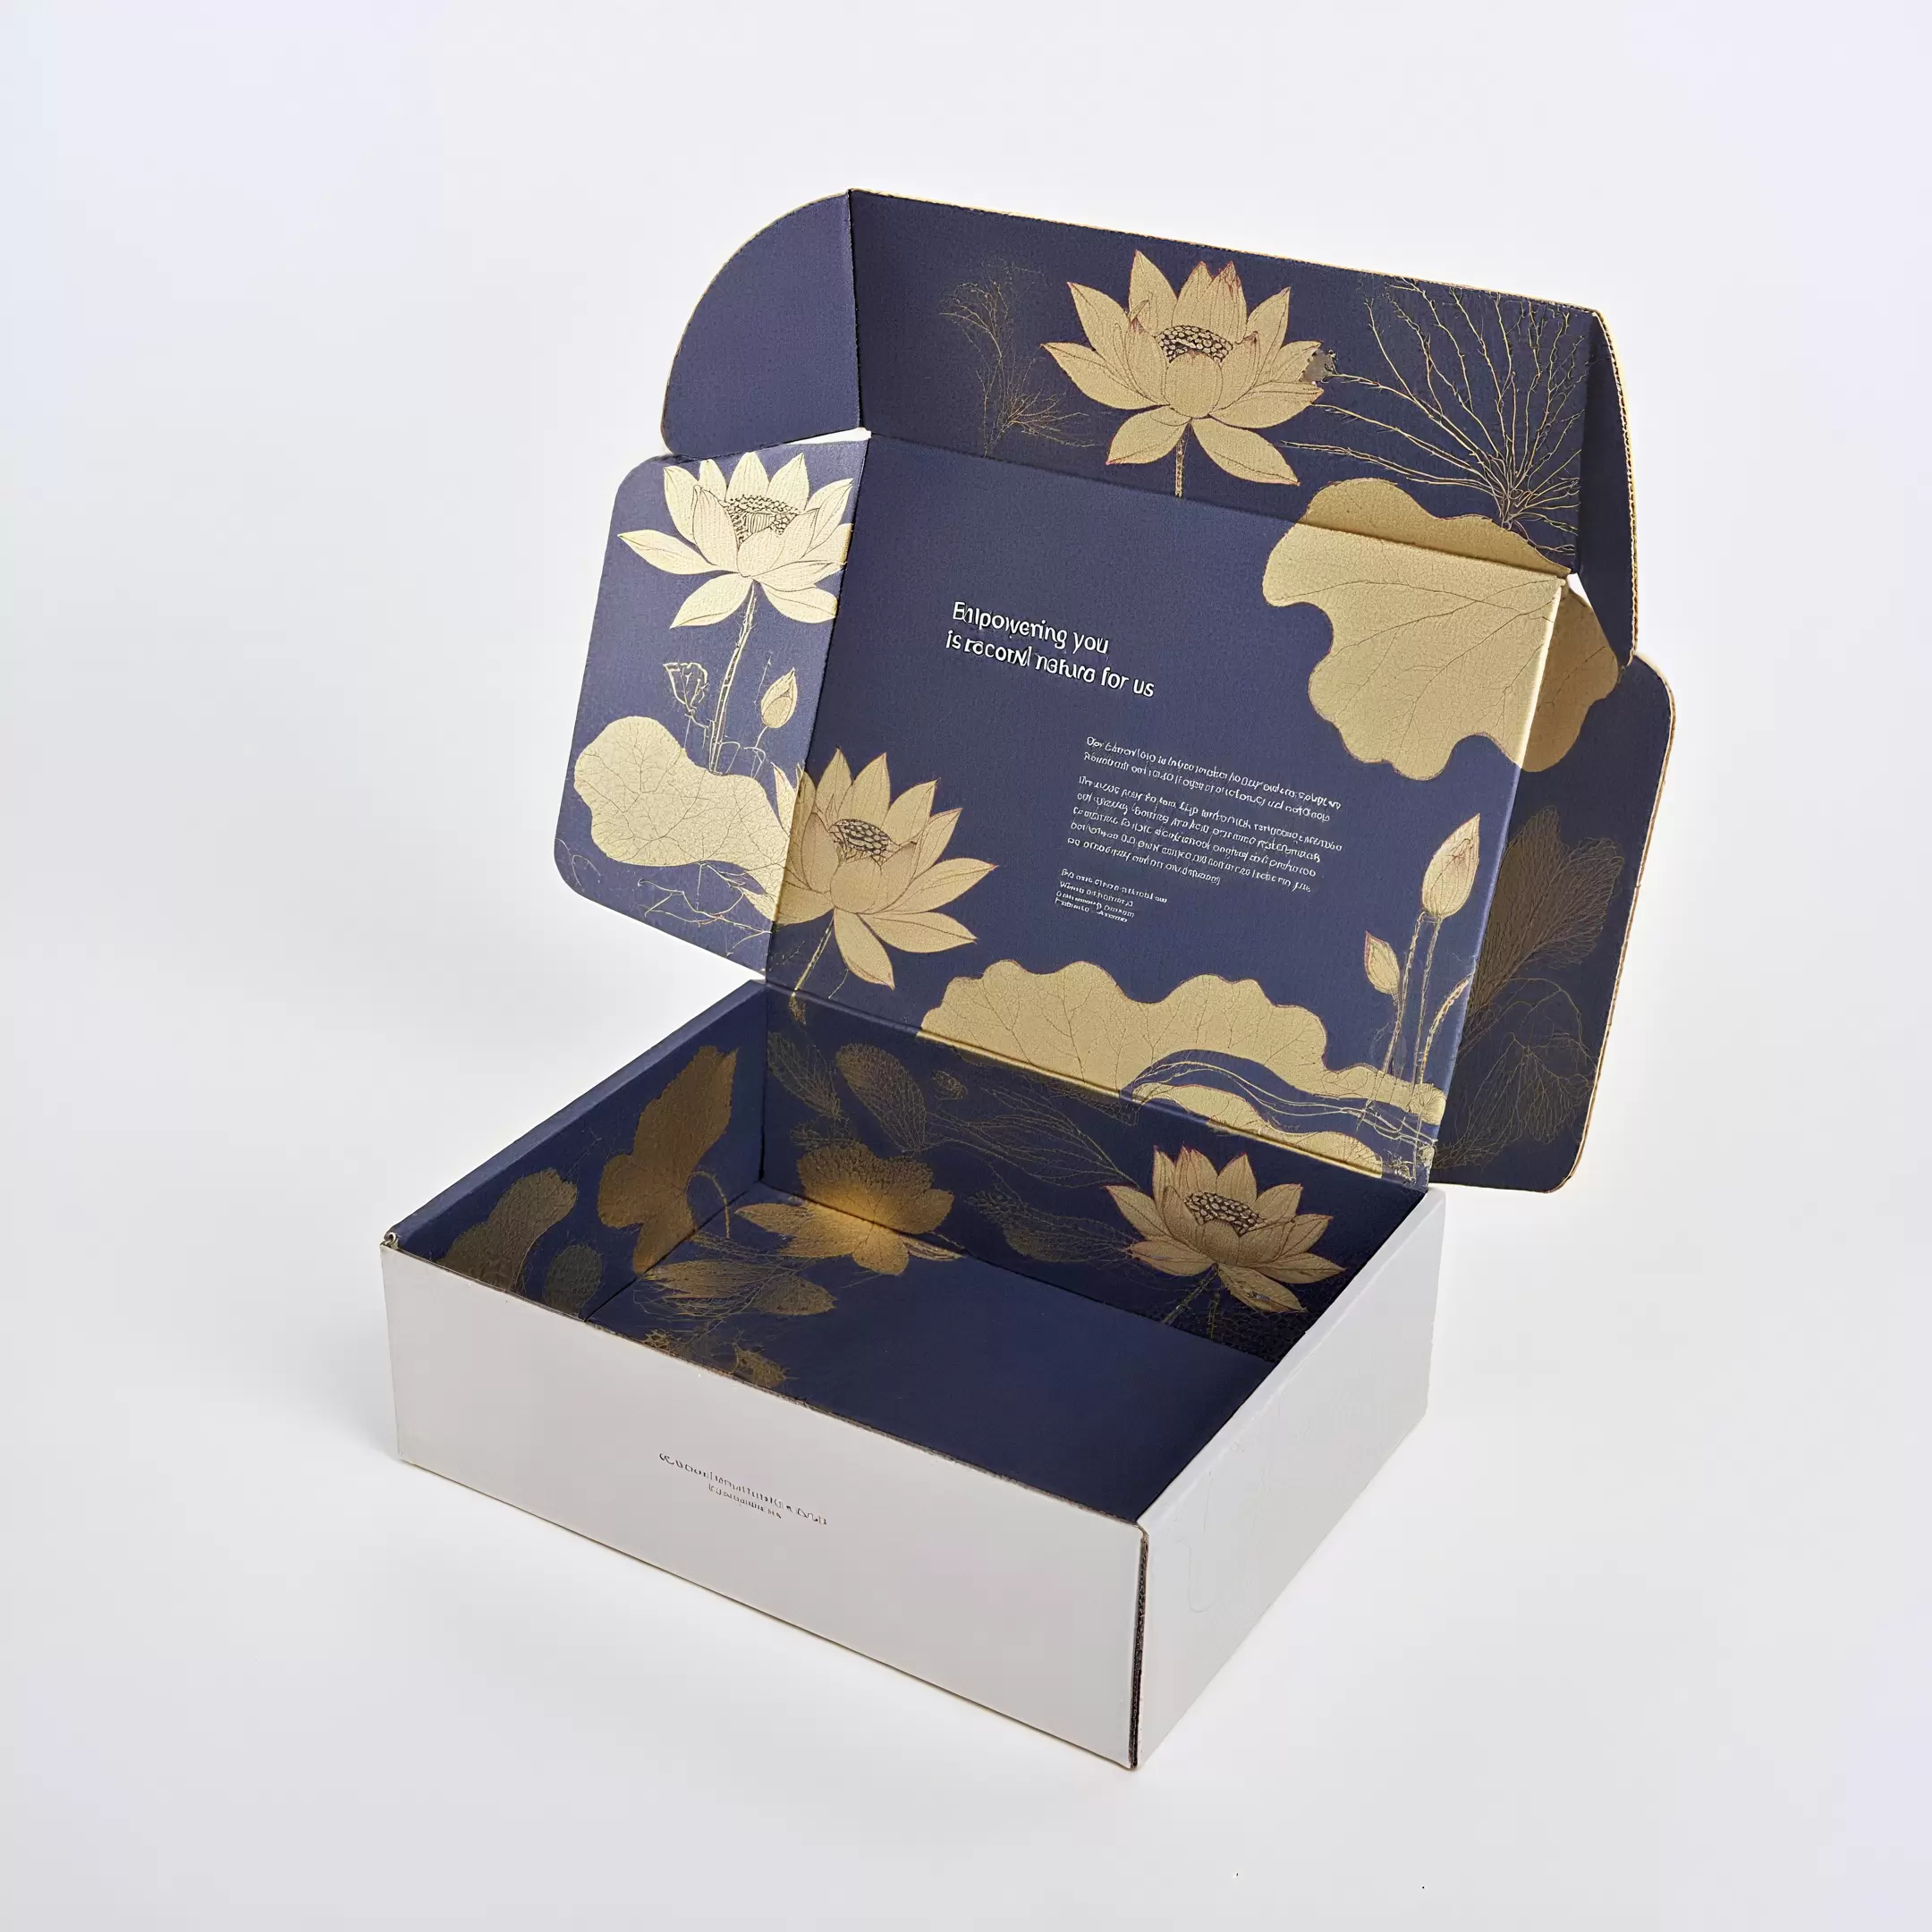
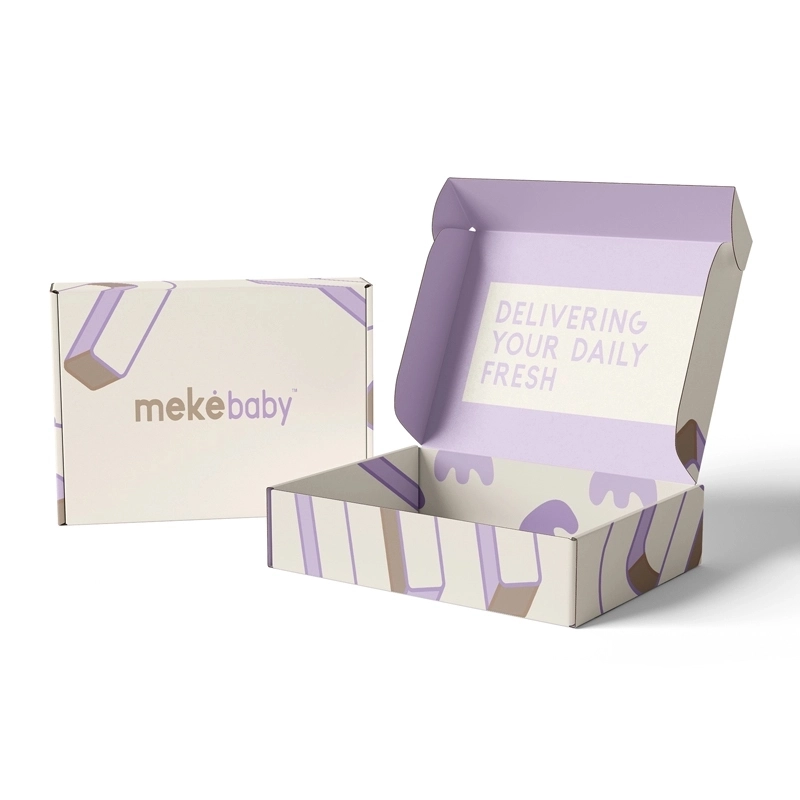
We understand that magnetic folding boxes are often used for high-end packaging (e.g., cosmetics, jewelry, electronics, or gifts) and need to be closely aligned with the brand's positioning.
Full-Process Customization: From material selection to magnetic component specifications (neodymium magnets for strong adhesion, hidden magnets for aesthetics), structural design (foldable angles, anti-deformation reinforcements), and surface treatment, we offer comprehensive customization tailored to your product size, brand style, and functional requirements.
R&D Support: Our design team has extensive experience in packaging structural engineering. Through 3D modeling and physical prototyping, we optimize the box's folding ease, load-bearing capacity, and magnet placement stability, eliminating common issues with loose magnets or folding difficulties during mass production.
We adhere to stringent quality standards throughout the entire production process to ensure the durability and ease of use of our magnetic folding boxes:
All raw materials (cardboard, magnets, adhesive) undergo rigorous testing, including the magnet's ability to securely close the box without falling off, the cardboard's thickness and hardness, and the adhesive's environmental friendliness and bond strength.
Production Process Supervision: During assembly, we focus on critical steps such as magnet installation (ensuring precise positioning to avoid misalignment that could affect closure) and folding edge processing. Each batch undergoes spot checks, including repeated folding and drop tests.
Whether you need a small trial run or large-scale production, we can efficiently meet your needs:
Small-Batch Support: For startups or brands with diverse SKUs, we accept small orders (even as few as 500 pieces), allowing you to test the market without incurring excessive inventory and quickly produce prototypes (sample delivery typically takes only 5-7 days).
Large-Scale Efficiency: Equipped with advanced automated production lines (including die-cutting machines and automatic magnet applicators), we can achieve daily production of tens of thousands of pieces. We ensure on-time delivery, even for large orders, with an on-time delivery rate exceeding 98%.
We balance quality and cost to offer competitive pricing:
Bulk Purchasing Advantages: By partnering with long-term raw material suppliers (cardboard and magnets), we can obtain high-quality materials at a lower cost and pass on the savings to our customers.
Process Optimization: Through rational design (for example, optimizing magnet dimensions to reduce material waste) and automated production, we control production costs without compromising quality, making our pricing more competitive for orders of all sizes.
We offer one-stop service to simplify your purchasing process:
Pre-sales Consultation: Our sales team will discuss your needs in detail (for example, whether the packaging needs to be moisture-proof or whether the magnets need to be removable) and provide professional advice.
After-sales Guarantee: If you encounter any quality issues with the product you receive, we will respond promptly and provide solutions such as rework or compensation, as agreed.
In short, choosing Xiamen Hengxing Color Printing Co., Ltd. means you're getting a partner that combines customization, quality, efficiency, and service. We are committed to transforming your packaging ideas into high-quality magnetic folding boxes to enhance your product value and brand image.

 Wechat
 Tel
Tel